> ## Documentation Index
> Fetch the complete documentation index at: https://documentation.idenfy.com/llms.txt
> Use this file to discover all available pages before exploring further.
# Setting Up Questionnaires for KYC and KYB
> Configure custom questionnaires for source of funds, compliance details, or UBO declarations in iDenfy KYC and KYB verification flows.
The Questionnaire feature allows you to collect specific information—such as source of funds, compliance details, or UBO declarations—as part of the verification flow.
* **Identity Verification (KYC):** Usually appears *before* the verification starts.
* **Business Verification (KYB):** Usually appears at the *end* of the verification form.
## Accessing the Questionnaire Builder
While the builder tool is the same, the access location depends on which service you are configuring:
* For **Identity** Go to **ID Verifications** → **Configurations** → **Questionnaire Templates**.
* For **Business:** Go to **Business Verifications** → **Configurations** → **Questionnaire Templates**.
From here, click **Create New** or **Import Questionnaire**.
Limitations for **Identity** Verification **(KYC)**
* Questionnaires do not forcefully expire sessions
* Questionnaires do not block verifications
* Questionnaires are always done **before** **identity** verifications, currently no option to do it **after.**
Limitations for **Business** Verifications **(KYB)**
* Questionnaires are always done **after** **business** verifications, currently no option to do it **before.**
***
## Creating a New Questionnaire
When creating a new template, you will define the basic settings and then build the structure using **Sections** and **Questions**.
### 1. Basic Setup
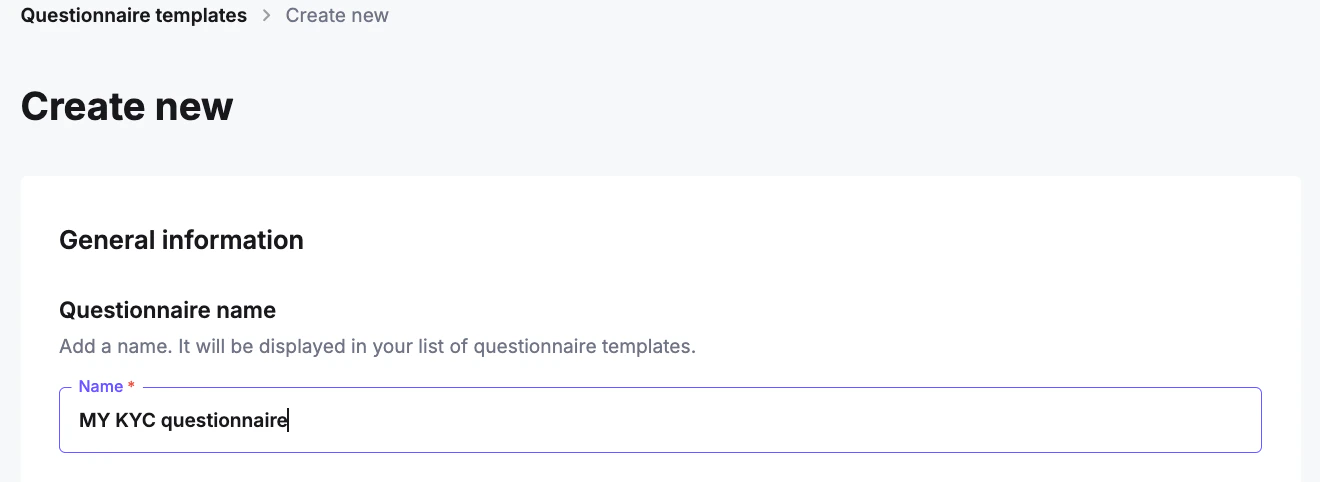
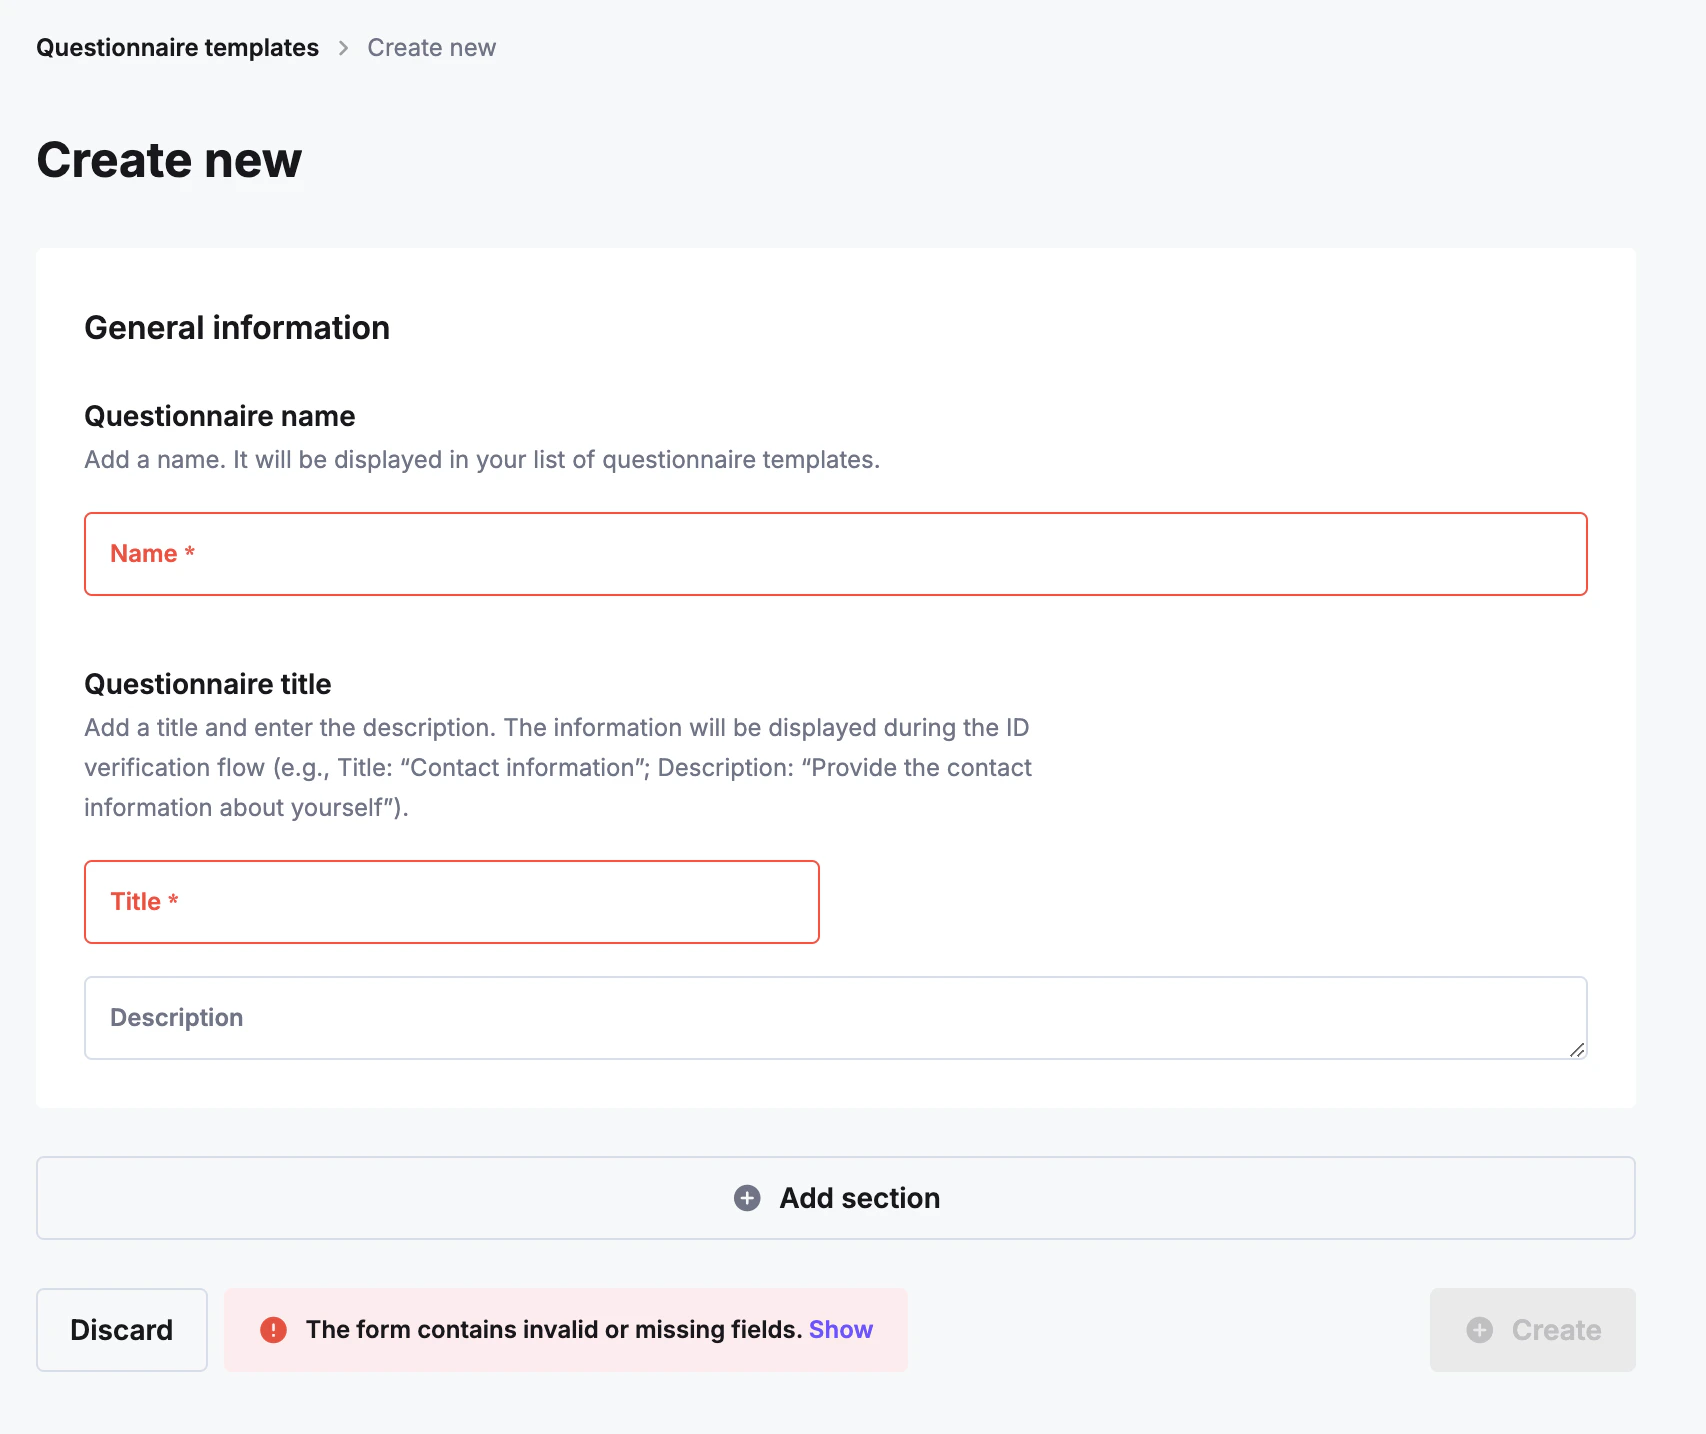
After clicking **Create New**, fill in the required details:
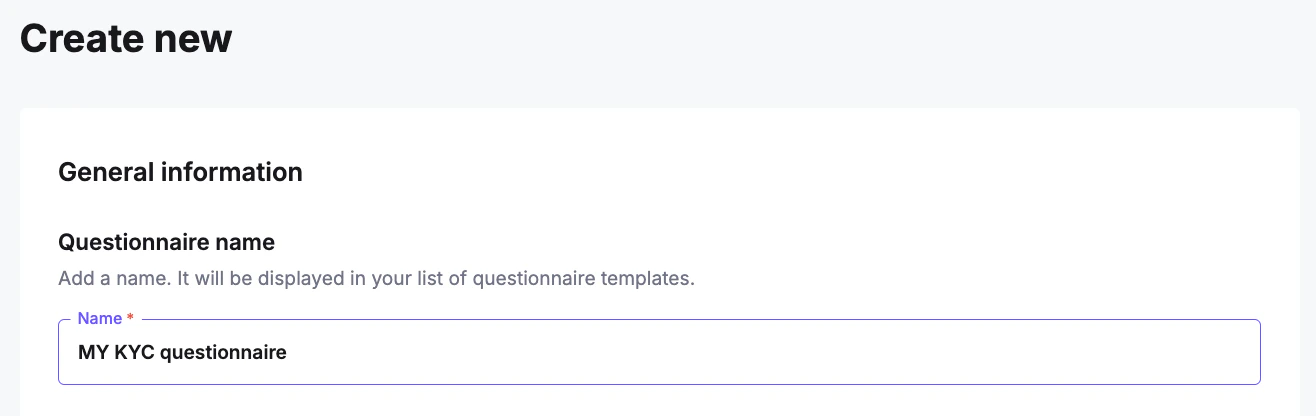
* **Name:** An internal identifier for the template (must be unique).
* **Title:** The header text the user will see.
* **Description:** Optional text to explain the form's purpose to the user.
 ***
### 2. Structuring with Sections
Questionnaires are organized into **Sections**. Even if you only need a few questions, they must be contained within a section.
* **Title:** The section heading displayed to the user.
* **Condition:** Optional rule to hide/show the entire section (see *Conditional Logic* below).
***
### 3. Adding Questions
Inside a section, click **Add Question**. You will need to configure:
* **Title:** The actual question text.
* **Type:** The format of the answer (text, date, file upload, etc.).
* **Required:** Mark if the user must answer this to proceed.
* **Choices:** (For dropdowns/radio buttons) Define the available answers and their specific keys. Customization Options
| Question Type | Description |
| ------------- | ------------------------------------------------------------------------------------------------------------------------------- |
| Checkbox | A small box the user can click to tick as an option. |
| Color | Allows the verifier to select a color in RGB format. |
| Country | Allows the verifier to select a country from a dropdown list. |
| Country Multi | Allows the verifier to select multiple countries from a dropdown list. |
| Date | Enables the verifier to select a date. |
| DateTime | Allows the verifier to select both date and time. |
| Email | Requires the user to enter an email in a valid format, such as [email@google.com](mailto:email@google.com). |
| File | Allows the verifier to upload one file of up to 10MB in one of the formats: PNG, JPG, HEIF, GIF, PDF. |
| Float | Allows the user to input a number with decimal values, such as 5.95 or 9532.122. |
| List | Lets the user create a list by typing a value, pressing Enter, and then adding additional values in the same way. |
| Integer | Allows the verifier to input a whole number without decimals, which can include negative values, e.g., -3512, -60, 0, 50, 4102. |
| Password | Enables the user to enter a password. |
| Radio | A multiple-choice option where the user can select one response by ticking a circular button. |
| Select | A dropdown menu where the user can choose one option from multiple values. |
| Select Multi | A dropdown menu where the user can select one or more values from multiple options. |
| Tel | Prompts the verifier to enter a phone number in the correct format, e.g., +37061111111. |
| Text | Allows the user to enter a short text, up to 100 characters. |
| Textarea | Allows the user to enter text of up to 1,000 characters. |
| Time | Allows the user to enter a valid time. |
| URL | Requires the user to enter a website link, starting with http\:// or https\://. |
***
### 4. Conditional Logic
Conditional logic allows you to show specific follow-up questions based on the user's answer to a previous question.
**Example:** You ask *"Do you have a different correspondence address?"*.
* If they answer **Yes** → Show address fields (Street, City, Zip).
* If they answer **No** → Go straight to the next topic.
***
### 2. Structuring with Sections
Questionnaires are organized into **Sections**. Even if you only need a few questions, they must be contained within a section.
* **Title:** The section heading displayed to the user.
* **Condition:** Optional rule to hide/show the entire section (see *Conditional Logic* below).
***
### 3. Adding Questions
Inside a section, click **Add Question**. You will need to configure:
* **Title:** The actual question text.
* **Type:** The format of the answer (text, date, file upload, etc.).
* **Required:** Mark if the user must answer this to proceed.
* **Choices:** (For dropdowns/radio buttons) Define the available answers and their specific keys. Customization Options
| Question Type | Description |
| ------------- | ------------------------------------------------------------------------------------------------------------------------------- |
| Checkbox | A small box the user can click to tick as an option. |
| Color | Allows the verifier to select a color in RGB format. |
| Country | Allows the verifier to select a country from a dropdown list. |
| Country Multi | Allows the verifier to select multiple countries from a dropdown list. |
| Date | Enables the verifier to select a date. |
| DateTime | Allows the verifier to select both date and time. |
| Email | Requires the user to enter an email in a valid format, such as [email@google.com](mailto:email@google.com). |
| File | Allows the verifier to upload one file of up to 10MB in one of the formats: PNG, JPG, HEIF, GIF, PDF. |
| Float | Allows the user to input a number with decimal values, such as 5.95 or 9532.122. |
| List | Lets the user create a list by typing a value, pressing Enter, and then adding additional values in the same way. |
| Integer | Allows the verifier to input a whole number without decimals, which can include negative values, e.g., -3512, -60, 0, 50, 4102. |
| Password | Enables the user to enter a password. |
| Radio | A multiple-choice option where the user can select one response by ticking a circular button. |
| Select | A dropdown menu where the user can choose one option from multiple values. |
| Select Multi | A dropdown menu where the user can select one or more values from multiple options. |
| Tel | Prompts the verifier to enter a phone number in the correct format, e.g., +37061111111. |
| Text | Allows the user to enter a short text, up to 100 characters. |
| Textarea | Allows the user to enter text of up to 1,000 characters. |
| Time | Allows the user to enter a valid time. |
| URL | Requires the user to enter a website link, starting with http\:// or https\://. |
***
### 4. Conditional Logic
Conditional logic allows you to show specific follow-up questions based on the user's answer to a previous question.
**Example:** You ask *"Do you have a different correspondence address?"*.
* If they answer **Yes** → Show address fields (Street, City, Zip).
* If they answer **No** → Go straight to the next topic.
 ### How to Configure Logic
Logic is managed directly inside the **Answer** settings of a "Select" or "Radio" question.
1. **Create all questions first:** Ensure the questions you want to show/hide (e.g., "Street Name") exist in the template.
2. **Open the "Trigger" question:** Edit the question that decides the flow (e.g., "Do you have a different address?").
3. **Configure the "Lead to" path:**
* Find the specific answer (e.g., "YES").
* In the **When selected lead to** dropdown, select all the questions that should appear when this answer is chosen.
* Repeat for other answers (e.g., for "NO", select only the next relevant question or leave it blank to skip).
Adding multiple questions to “**When selected lead to”**
* **Section Skipping:** If your logic hides every question in a specific section, that entire section is skipped during the user's flow.
* **Question Filtering:** If multiple questions exist in one section, only the ones explicitly triggered by the user's "Lead to" selection will appear. All others remain hidden.
***
## Managing Questionnaires
Once you have created templates, you can manage them from the **Questionnaire Templates** list. Click the **(...)** menu on any template to access these actions:
* **Edit:** Modify the existing questions, logic, or settings. *Note: Changes apply to new verification sessions immediately.*
* **Create a copy:** Duplicates the entire template structure. This is useful for creating "Version 2.0" of a form for testing without affecting the live version.
* **Set as default:** Marks this questionnaire as the standard form. It will automatically appear for all new verifications unless a different one is manually specified via API.
* **Export questionnaire:** Downloads the template structure as a JSON file. Use this for backups or to migrate templates between different accounts/environments.
* **Delete:** Permanently removes the template. *Note: You cannot delete a template that is currently set as the Default.*
**Identity** vs **Business** verifications
In Business verification, there is no option to set a default. All questionnaires are set via [**workflows**](/guides/dashboard/setup/setup-workflow)
### How to Configure Logic
Logic is managed directly inside the **Answer** settings of a "Select" or "Radio" question.
1. **Create all questions first:** Ensure the questions you want to show/hide (e.g., "Street Name") exist in the template.
2. **Open the "Trigger" question:** Edit the question that decides the flow (e.g., "Do you have a different address?").
3. **Configure the "Lead to" path:**
* Find the specific answer (e.g., "YES").
* In the **When selected lead to** dropdown, select all the questions that should appear when this answer is chosen.
* Repeat for other answers (e.g., for "NO", select only the next relevant question or leave it blank to skip).
Adding multiple questions to “**When selected lead to”**
* **Section Skipping:** If your logic hides every question in a specific section, that entire section is skipped during the user's flow.
* **Question Filtering:** If multiple questions exist in one section, only the ones explicitly triggered by the user's "Lead to" selection will appear. All others remain hidden.
***
## Managing Questionnaires
Once you have created templates, you can manage them from the **Questionnaire Templates** list. Click the **(...)** menu on any template to access these actions:
* **Edit:** Modify the existing questions, logic, or settings. *Note: Changes apply to new verification sessions immediately.*
* **Create a copy:** Duplicates the entire template structure. This is useful for creating "Version 2.0" of a form for testing without affecting the live version.
* **Set as default:** Marks this questionnaire as the standard form. It will automatically appear for all new verifications unless a different one is manually specified via API.
* **Export questionnaire:** Downloads the template structure as a JSON file. Use this for backups or to migrate templates between different accounts/environments.
* **Delete:** Permanently removes the template. *Note: You cannot delete a template that is currently set as the Default.*
**Identity** vs **Business** verifications
In Business verification, there is no option to set a default. All questionnaires are set via [**workflows**](/guides/dashboard/setup/setup-workflow)
 ***
## Translations
You can localize your questionnaire into multiple languages without recreating the structure or logic.
1. In the **Questionnaire Templates** list, click **(...)** → **Translate**.
2. Click **Additional language** at the bottom of the modal to select your target language (e.g., Lithuanian, Spanish).
3. **Enter Translations:** The screen displays your original text on the left (disabled) and input fields on the right.
* **Manual:** Type the translation into the corresponding fields.
* **Automatic:** Click the **Auto-translate** icon () next to the language name to generate translations for all fields instantly.
4. Click **Save**.
***
## Translations
You can localize your questionnaire into multiple languages without recreating the structure or logic.
1. In the **Questionnaire Templates** list, click **(...)** → **Translate**.
2. Click **Additional language** at the bottom of the modal to select your target language (e.g., Lithuanian, Spanish).
3. **Enter Translations:** The screen displays your original text on the left (disabled) and input fields on the right.
* **Manual:** Type the translation into the corresponding fields.
* **Automatic:** Click the **Auto-translate** icon () next to the language name to generate translations for all fields instantly.
4. Click **Save**.