> ## Documentation Index
> Fetch the complete documentation index at: https://documentation.idenfy.com/llms.txt
> Use this file to discover all available pages before exploring further.

# Email Template Setup

> Create and configure email templates for new verification requests, data update requests, and completed companies in iDenfy KYB flows.

**Location:** **Business Verifications** → **Configurations** → **Email template**

There are three types of email templates: for new verification requests, for requests to update information, and for completed companies. The Business Verification (KYB) form link is sent by including it inside the template — either by pasting the raw session URL or the ready-made HTML.

<Steps>
  <Step title="Create a new template">
    Click **Create new**, then enter a unique name for the template. This name is only used to identify the template in later steps — it is not shown to recipients.
  </Step>

  <Step title="Select the email type">
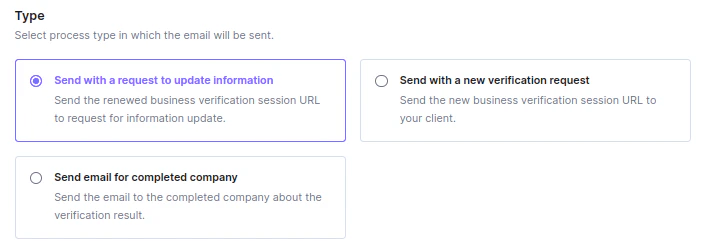
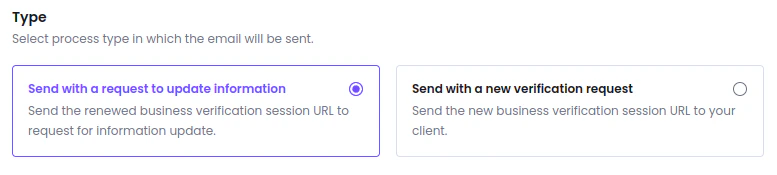
    Choose which process the template applies to:

    <Frame>
      <img src="https://mintcdn.com/idenfy/JKihZ0KtjeFbI_y8/images/guides/setup-email-templates--image-20231031-123614.png?fit=max&auto=format&n=JKihZ0KtjeFbI_y8&q=85&s=fa6a38038125d9820341beed504d76ec" alt="Email template type selection — new verification request, request to update information, or completed company" width="708" height="248" data-path="images/guides/setup-email-templates--image-20231031-123614.png" />
    </Frame>

    * **Send with a new verification request** — sends the new business verification session URL to your client.
    * **Send with a request to update information** — sends the renewed business verification session URL to request an information update.
    * **Send email for completed company** — sends the verification result to a company whose verification has completed.
  </Step>

  <Step title="Enter the email subject">
    Type the subject line that will appear in the recipient's inbox.

    <Frame>
      <img src="https://mintcdn.com/idenfy/JKihZ0KtjeFbI_y8/images/guides/setup-email-templates--image3.png?fit=max&auto=format&n=JKihZ0KtjeFbI_y8&q=85&s=4a9d562e589db19175f118cd96115209" alt="Email subject field in the email template editor" width="777" height="123" data-path="images/guides/setup-email-templates--image3.png" />
    </Frame>
  </Step>

  <Step title="Write the email content">
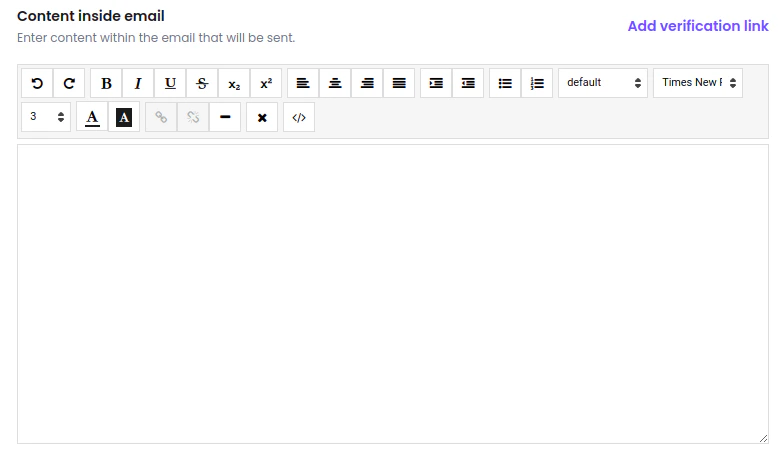
    Type the body of the email, then click **Add verification link** to insert the placeholder for the verification session URL.

    <Frame>
      <img src="https://mintcdn.com/idenfy/JKihZ0KtjeFbI_y8/images/guides/setup-email-templates--image20.png?fit=max&auto=format&n=JKihZ0KtjeFbI_y8&q=85&s=72a09d168c94191882a2abba4a821785" alt="Email content editor with the Add verification link button" width="781" height="451" data-path="images/guides/setup-email-templates--image20.png" />
    </Frame>

    <Note>
      Without the verification link placeholder, the recipient has no way to reach the verification session — always include it before saving.
    </Note>
  </Step>

  <Step title="Save the template">
    Click **Save** to make the template available for selection when sending verification or update requests.
  </Step>
</Steps>


## Related topics

- [Additional Setup Options](/guides/dashboard/setup/setup-others.md)
- [Questionnaire Template Setup](/guides/dashboard/features/questionnaire-template-setup.md)
- [Creating a KYB Session](/guides/dashboard/kyb/creating-session.md)
- [Company Expiration](/guides/dashboard/kyb/company-expiration-and-update.md)
- [Shopify](/integrations/shopify.md)