Face authentication for Android SDK
Active Face authentication works from 7.4.1 Android SDK versions. Face Matching authentication works from 8.0.1 Android SDK versions.
Introduction
Face authentication is a perfect tool to perform KYC checks once and then use the same scanRef to perform multiple verifications just within 30 seconds!
Pre-conditions
A successful verification must be performed before initializing face authentication. For face authentication all you need is scanRef, which is obtained here. Read about performing verification here.
Possible variations of this flow
1. Active face liveness authentication
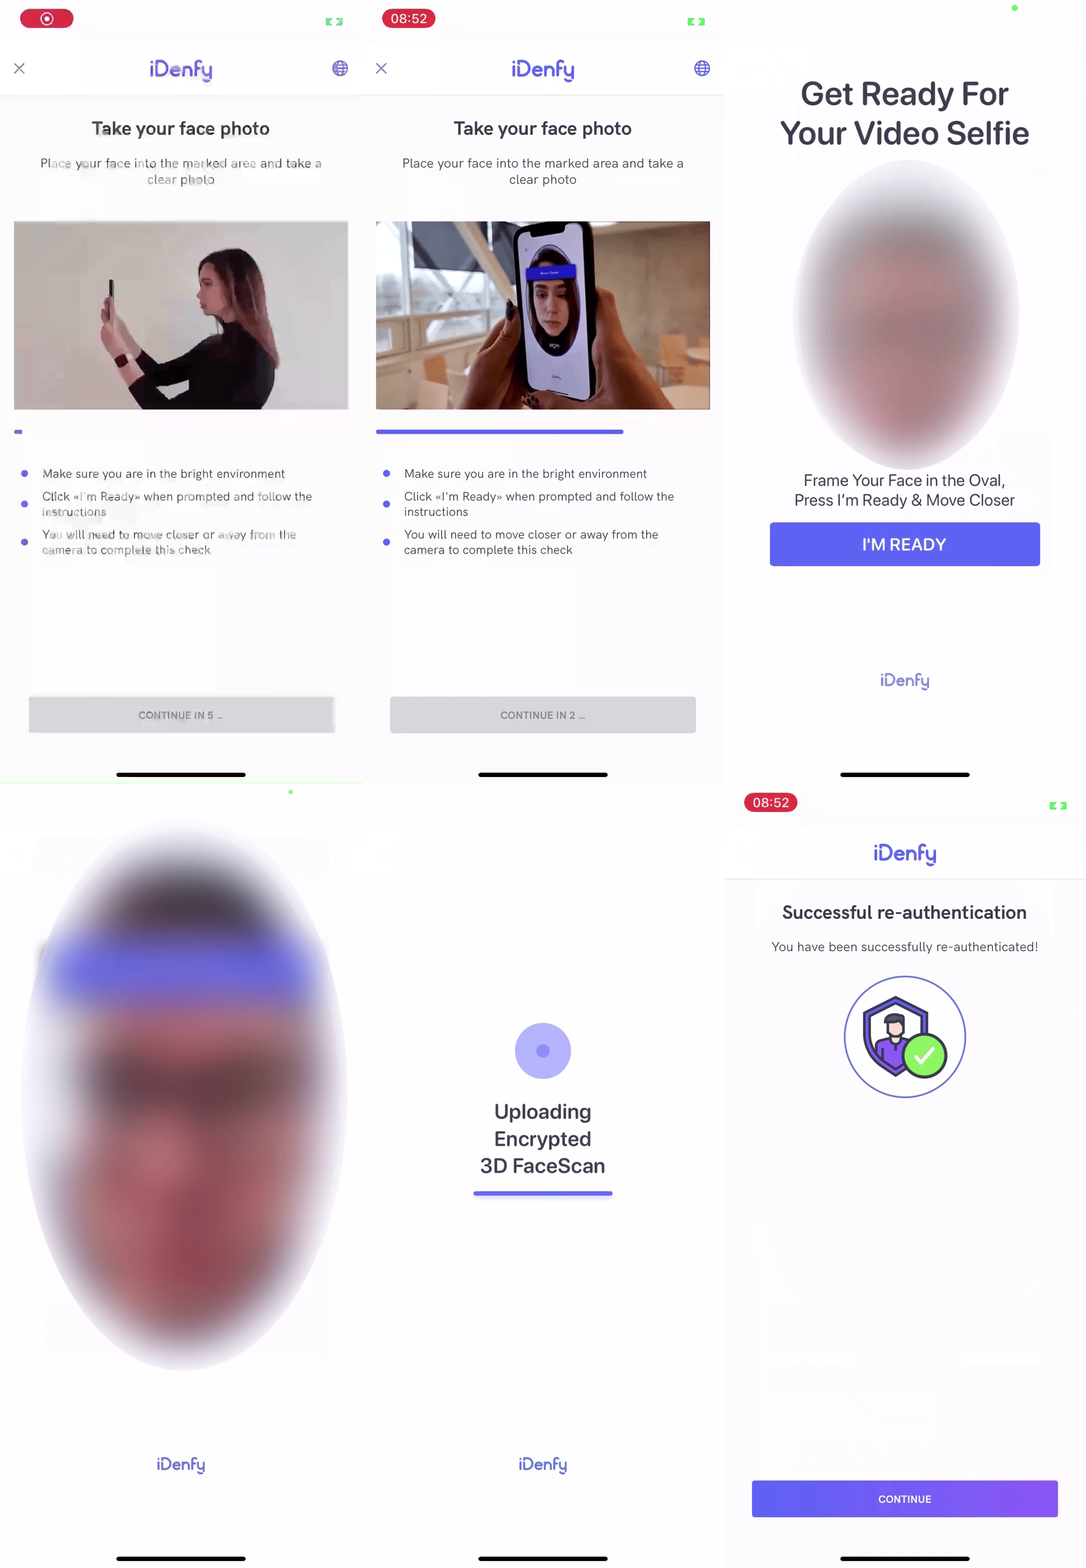
This flow requires the user to perform an advanced liveness detection to pass the authentication.
In order to use active liveness detection for face authentication flow, this feature must be enabled and performed during KYC verification beforehand.

2. Face matching authentication
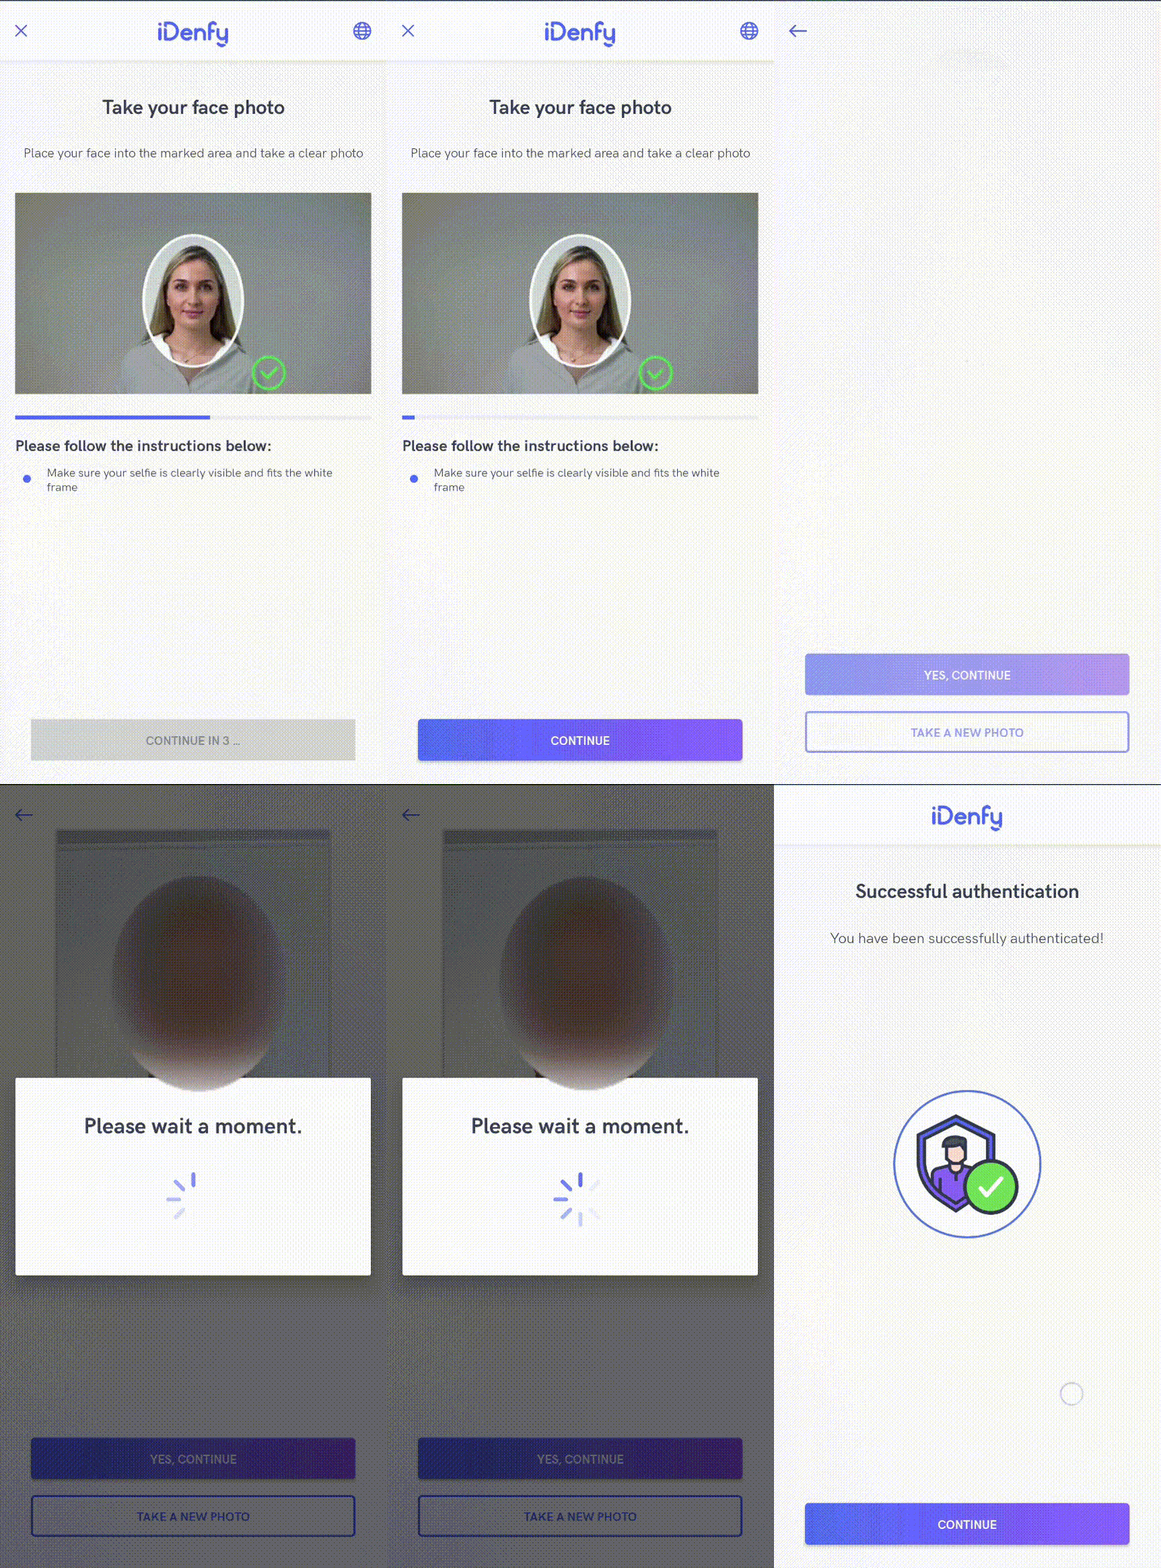
This flow only requires the user to take a regular face photo to perform the authentication.

Getting started
Follow the iDenfySDK integration guide, which is required for the face authentication as well.
After completing the steps and the application compiles successfully, you are ready to implement face-auth specific logic.
You can also download the sample app, it supports face authentication, so it should be much easier. Download here.
Follow the information below to get started.
1. Handle webhook callback
You will receive a webhook callback if it is a preferred way of handling results (it should be since it is more secure and reliable). The webhook structure is the following:
{
  "token": "token",
  "clientId": "clientId",
  "scanRef": "scanRef",
  "status": "SUCCESS",
  "type": "AUTHENTICATION",
  "method": "FACE_MATCHING",
  "facePhoto": "https://s3.eu-west-1.amazonaws.com/production.users.storage/users_storage/users/<HASH>/FRONT.png?AWSAccessKeyId=<KEY>&Signature=<SIG>&Expires=<STAMP>"
}
The "facePhoto" key type: String (URL), Can be null: Yes, Constraints: Max length 500, Explanation: A URL to download selfie photo with which a client has completed a face authentification.
The "method" key can be "FACE_MATCHING" or "ACTIVE_LIVENESS"
The status key has the following values:
| Name | Description |
|---|---|
SUCCESS | The user completed face authentication flow and the authentication status, provided by an automated platform, is SUCCESS. |
FAILED | The user completed face authentication flow and the authentication status, provided by an automated platform, is FAILED. |
CANCELED | The user did not complete the face authentication flow and canceled it and the identification status, provided by an automated platform, is EXIT. |
EXPIRED | The user did not complete the face authentication flow, but did not cancel it explicitly and the identification status, provided by an automated platform, is EXPIRED. |
To set your webhook URL, contact at tech support via our dashboard.
2. Handle callback in SDK
If you also want to handle results directly in mobile app, you can implement the result handling in the SDK as well.
private var identificationResultsCallback = registerForActivityResult(
    ActivityResultContracts.StartActivityForResult()
) { result: ActivityResult ->
    val resultCode = result.resultCode
    val data = result.data

    if (resultCode == IdenfyController.IDENFY_FACE_AUTHENTICATION_RESULT_CODE) {
        val faceAuthenticationResult: FaceAuthenticationResult =
            data!!.getParcelableExtra(IdenfyController.IDENFY_FACE_AUTHENTICATION_RESULT)!!
        Toast.makeText(this, "Face Authentication Status: " + faceAuthenticationResult.faceAuthenticationStatus.status, Toast.LENGTH_SHORT).show()
        when (faceAuthenticationResult.faceAuthenticationStatus) {
            FaceAuthenticationStatus.SUCCESS -> {
                // The user completed authentication flow, was successfully authenticated
            }
            FaceAuthenticationStatus.FAILED -> {
                // The user completed authentication flow, was not successfully authenticated
            }
            FaceAuthenticationStatus.EXIT -> {
                // The user did not complete authentication flow
            }
        }
    }
}
3. Check face authentication status
Before initialising SDK, you need to check whether the user can use face authentication
You can check it by calling the HTTP GET https://ivs.idenfy.com/identification/facial-auth/{scanRef}/check-status/ with the following path parameter as well as basic auth headers where username is API key and password is API secret. To select the desired flow of face authentication, a query parameter with an ACTIVE_LIVENESS or FACE_MATCHING authentication method can be passed, otherwise ACTIVE_LIVENESS will be the default flow:
API key and API secret can be retrieved by contacting iDenfy's tech support or iDenfy's sales team:
The JSON response will have the following structure:
{
  "type": "AUTHENTICATION_TYPE"
}
Authentication type is an enum class with the following values:
| Name | Description |
|---|---|
ENROLLMENT | The user must perform an enrollment, since the identification was performed with an older face tec version (Before face authentication update) |
AUTHENTICATION | The user can authenticate by face |
IDENTIFICATION | The user must perform an identification |
ENROLLMENT only applies to ACTIVE_LIVENESS authentication method and from a user perspective is identical to active AUTHENTICATION, although ENROLLMENT is basically registration for authentication - whichever face client used for enrollment, that face will then work for subsequent authentications.
Enrollment is recommended to be used for these cases:
- Client was on-boarded using an old version of the SDK and therefore not registered for authentication.
- Client failed an automated liveliness check during on-boarding and therefore was not registered for authentication.
- Client is registered for authentication, but for whatever reason wishes to change the face used for authentication.
Endpoint https://ivs.idenfy.com/identification/facial-auth/{scanRef}/check-status/?method={authenticationMethod} if verification with provided scanRef doesn't exist(deleted or not real scanRef provided) return status code 404.
4. Generate the authToken
For SDK initialization, you need to generate an authToken.
You can receive it by calling the HTTP POST https://ivs.idenfy.com/partner/authentication-info request with the following JSON body structure as well as basic auth headers where username is API key and password is API secret.
API key and API secret can be retrieved by contacting iDenfy's tech support or iDenfy's sales team:
The JSON body structure is the following:
{
  "scanRef": "scanRef",
  "type": "AUTHENTICATION_TYPE",
  "method": "AUTHENTICATION_METHOD"
}
AUTHENTICATION_METHOD must be same with the one passed in identification/facial-auth/{scanRef}/check-status endpoint, otherwise the user might not pass the authentication
if AUTHENTICATION_TYPE is IDENTIFICATION, please use the regular identification endpoint for generating a token. Look at verification token generation guide
Additionally, a lifetime JSON body value can be passed, which will set the duration of the session (By default it is 30 minutes, maximum duration is 30 days. Value is set with seconds):
{
  "scanRef": "scanRef",
  "type": "AUTHENTICATION_TYPE",
  "method": "AUTHENTICATION_METHOD",
  "lifetime": 3600
}
The JSON response will have the following structure:
{
  "token": "AUTH_TOKEN",
  "maxAttemptCount": 3
}
All you need from the response is the token.
5. Initialize SDK
Now all you need is to pass the generated token. Congrats! 🥳
   val faceAuthenticationInitialization = FaceAuthenticationInitialization(token)
   IdenfyController.getInstance().initializeFaceAuthenticationSDKV2(requireActivity(), (requireActivity() as BaseActivity).identificationResultsCallback, faceAuthenticationInitialization)
Customization
Immediate redirect
An additional bool can be passed to the function to set the immediate redirect feature. This boolean sets whether the results from iDenfy SDK should be received immediately without any additional result pages.
The client does the verification, loading state appears and closes - without showing the final status screen.
To enable it change the initialization of FaceAuthenticationInitialization in a following way:
val faceAuthenticationInitialization = FaceAuthenticationInitialization(token, true)
Face detection
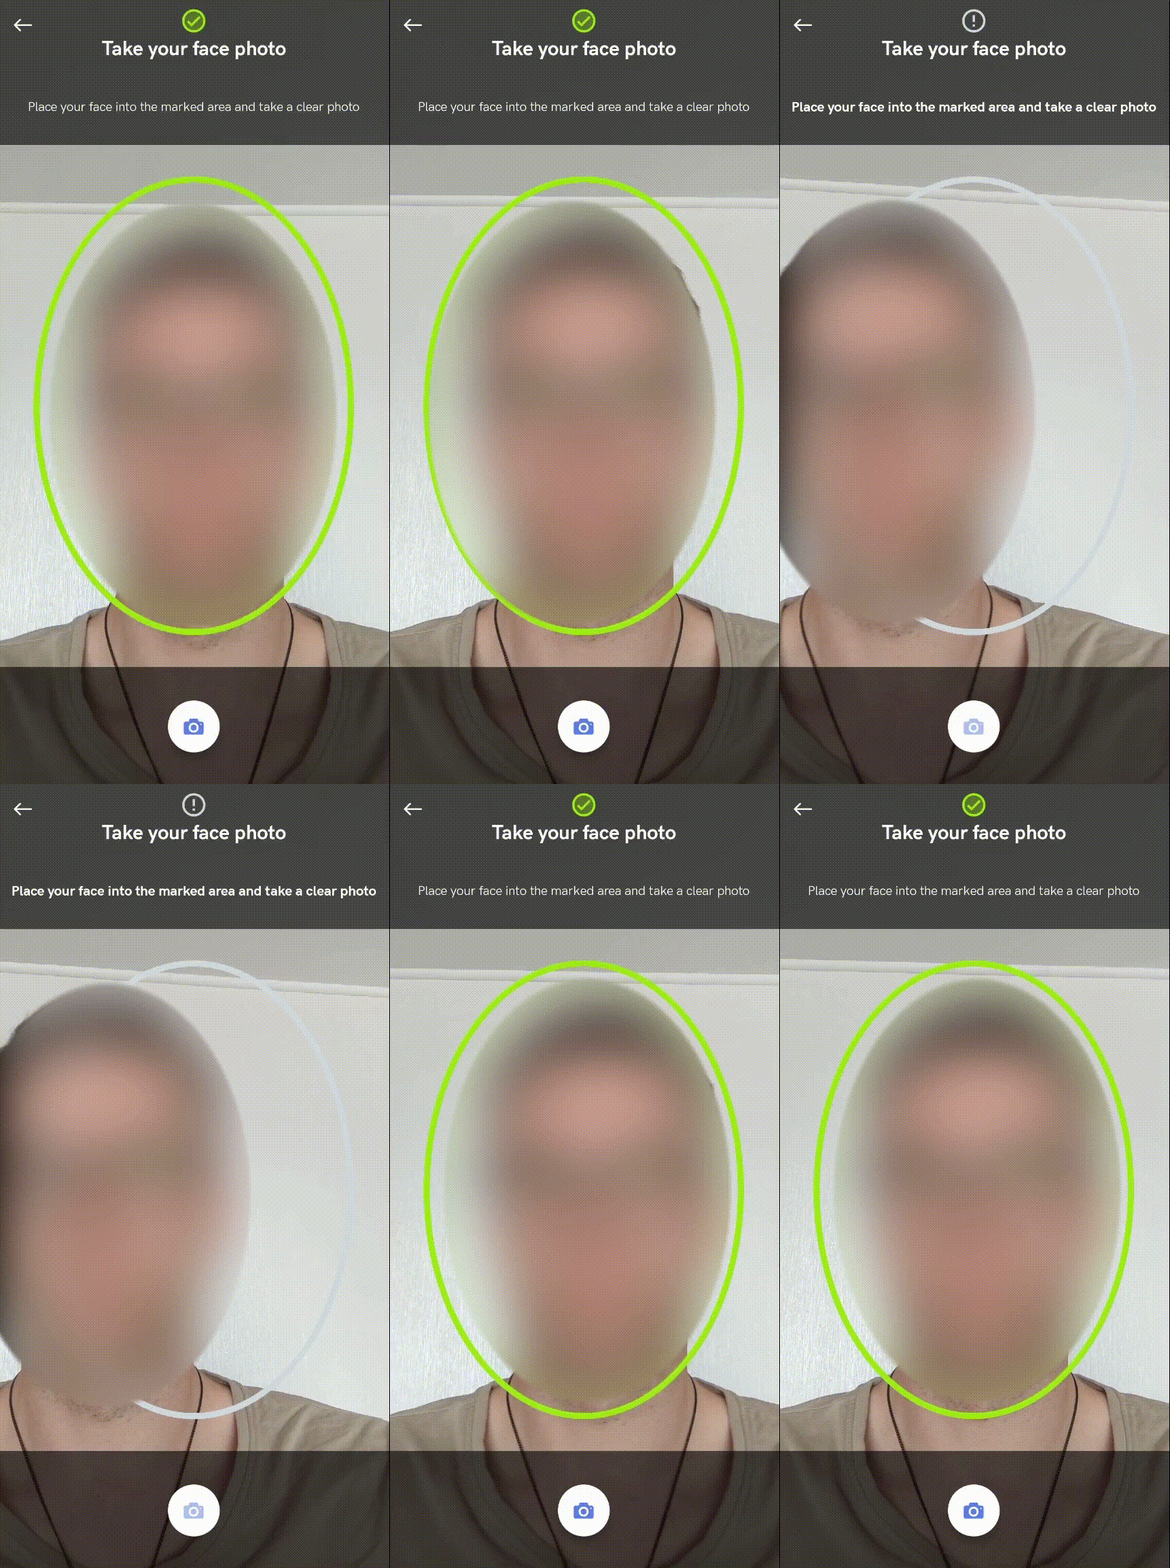
While using face matching authentication, face detection feature can be enabled, which requires users to place their face into the marked area before taking a photo.

Contact our tech support via Jira customer portal for enabling this feature. Note that face detection will apply to both KYC verification and face authentication flows.
Passive liveness detection
Additionally, while using face matching authentication, passive liveness detection feature can be enabled, to detect whether a seflie from the photo is genuine or not.
Contact our tech support via Jira customer portal for enabling this feature. Note that face detection will apply to both KYC verification and face authentication flows.
UI Customization
The UI can be customized same as the KYC verification flow. Main colors or styles in the styles.xml or colors.xml files of your app target can be overridden, as well as the layouts.
Our colors, styles and layouts can be found in our repository.
Face authentication flow has additional UI settings, they can be passed using the IdenfyFaceAuthUIBuilder along with FaceAuthenticationInitialization:
val idenfyFaceAuthUISettings = IdenfyFaceAuthUISettings.IdenfyFaceAuthUIBuilder()
    //Show or hide language selection button
    .withLanguageSelection(true)
    //Show or skip camera on boarding screen
    .withOnBoardingView(true)
    .build()

val faceAuthenticationInitialization = FaceAuthenticationInitialization(
    token,
    idenfyFaceAuthUISettings = idenfyFaceAuthUISettings
)