Before using the iDenfy plugin, you must first install WooCommerce, as it is a required component.
iDenfy Plugin
Download the Plugin
Download the plugin from the provided .zip file or find the plugin in the official WordPress and WooCommerce stores and install it from there. Download the plugin zip file. You will be navigated to Google Drive where you can click the Download button at the top right corner to start downloading. Once the download is finished, you will need the file for plugin installation during the next steps.Install the Plugin
Install the plugin: Locate the file that was downloaded and upload it via Plugins > Add New > Upload Plugin in your WordPress admin panel.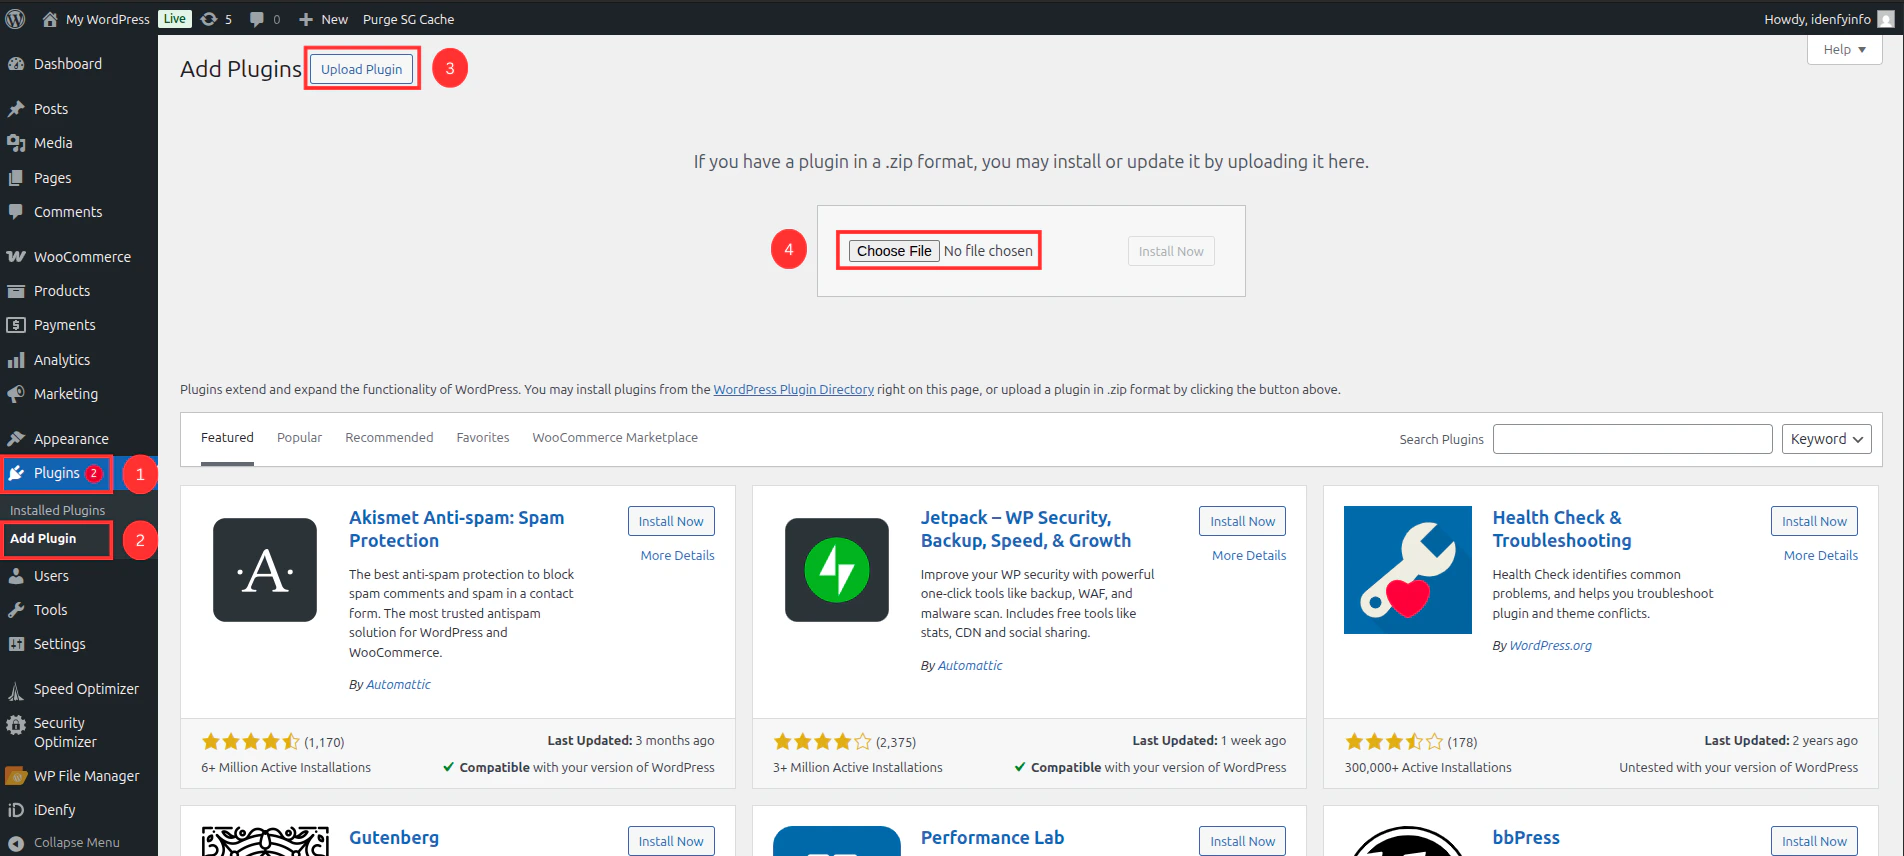


Configure Main Settings
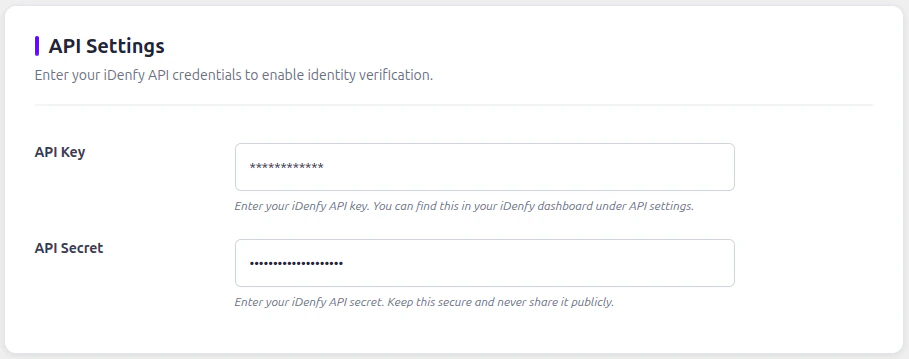
API Settings
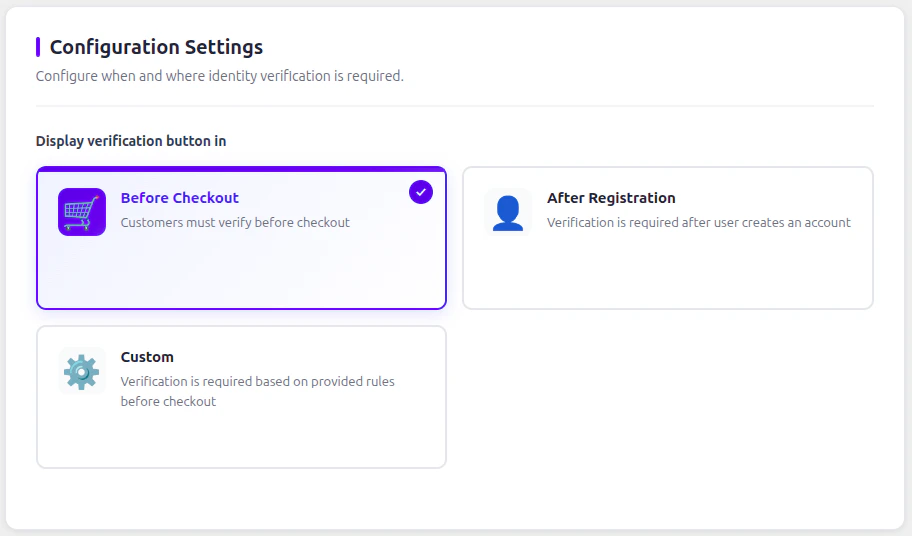
Configuration Settings
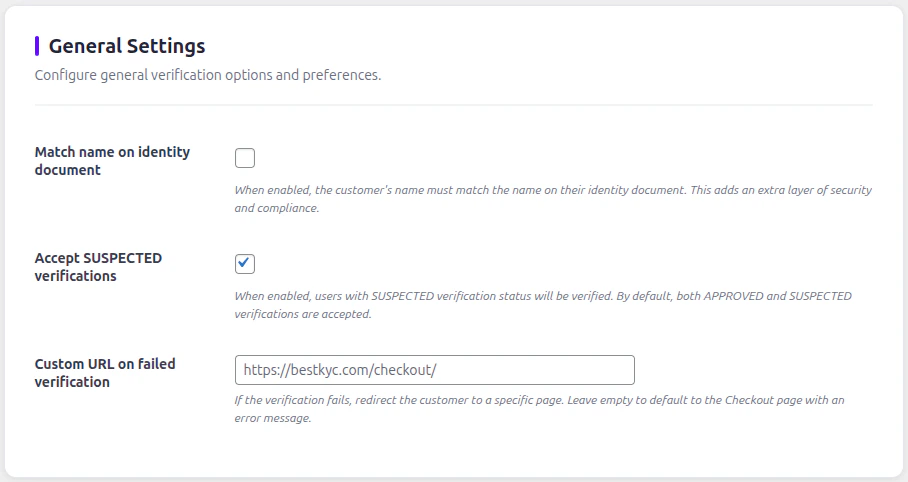
General Settings
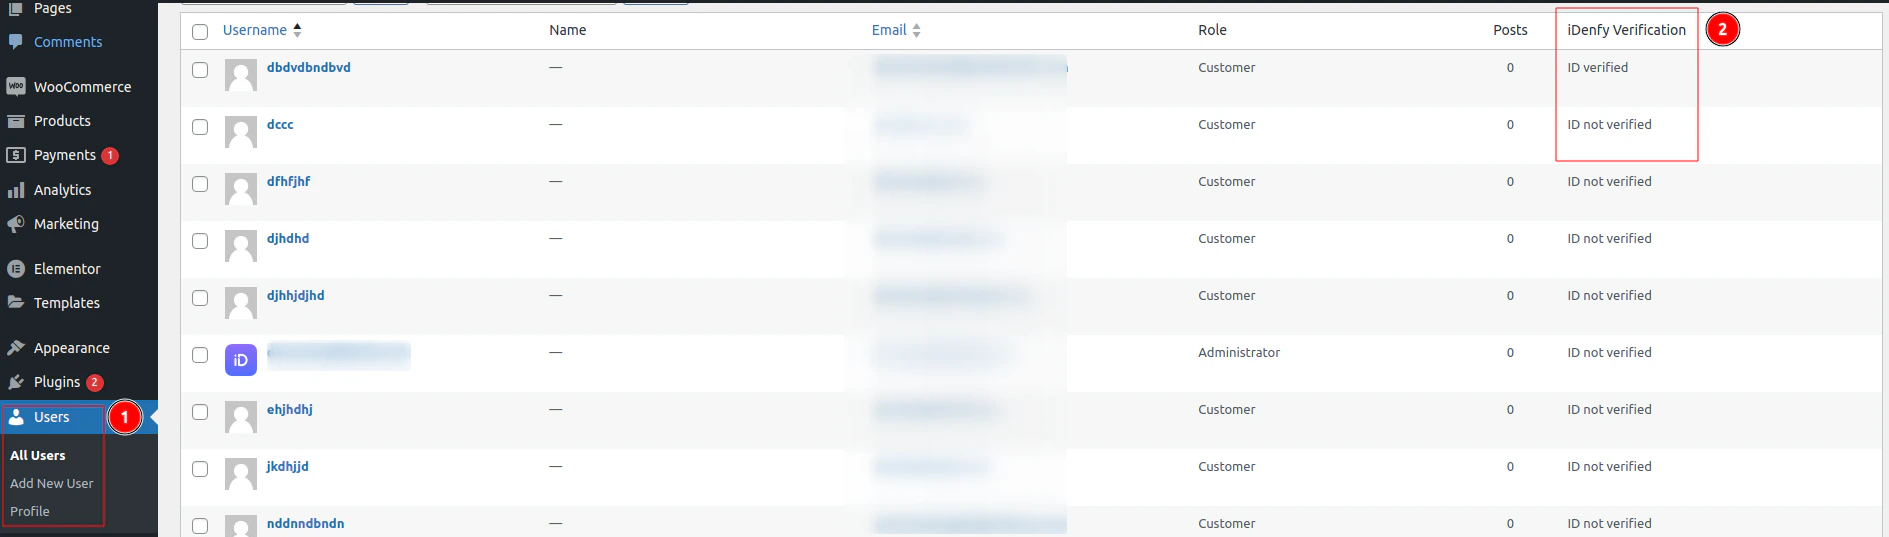
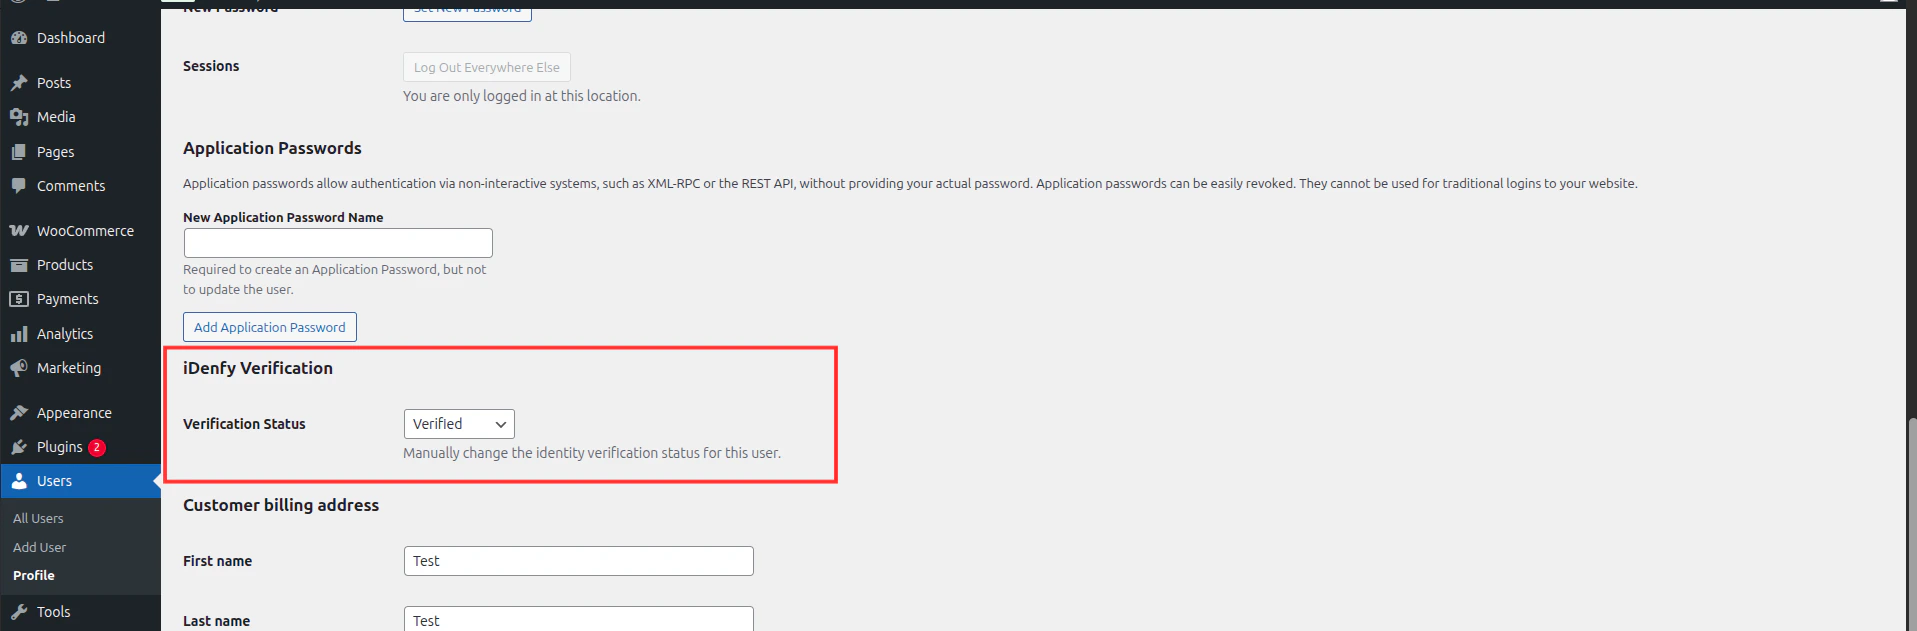
Manage Users in WordPress Panel
You can check and manage all users and their statuses by navigating to Users > All Users. You will find an iDenfy Verification column with the status of each user.