Before using the iDenfy plugin, you must first install WooCommerce, as it is a required component.
iDenfy Plugin
Download the Plugin
Download the plugin from the provided .zip file or find the plugin in the official WordPress and WooCommerce stores and install it from there. Download the plugin zip file. You will be navigated to Google Drive where you can click the Download button at the top right corner to start downloading. Once the download is finished, you will need the file for plugin installation during the next steps.Install the Plugin
Install the plugin: Locate the file that was downloaded and upload it via Plugins > Add New > Upload Plugin in your WordPress admin panel.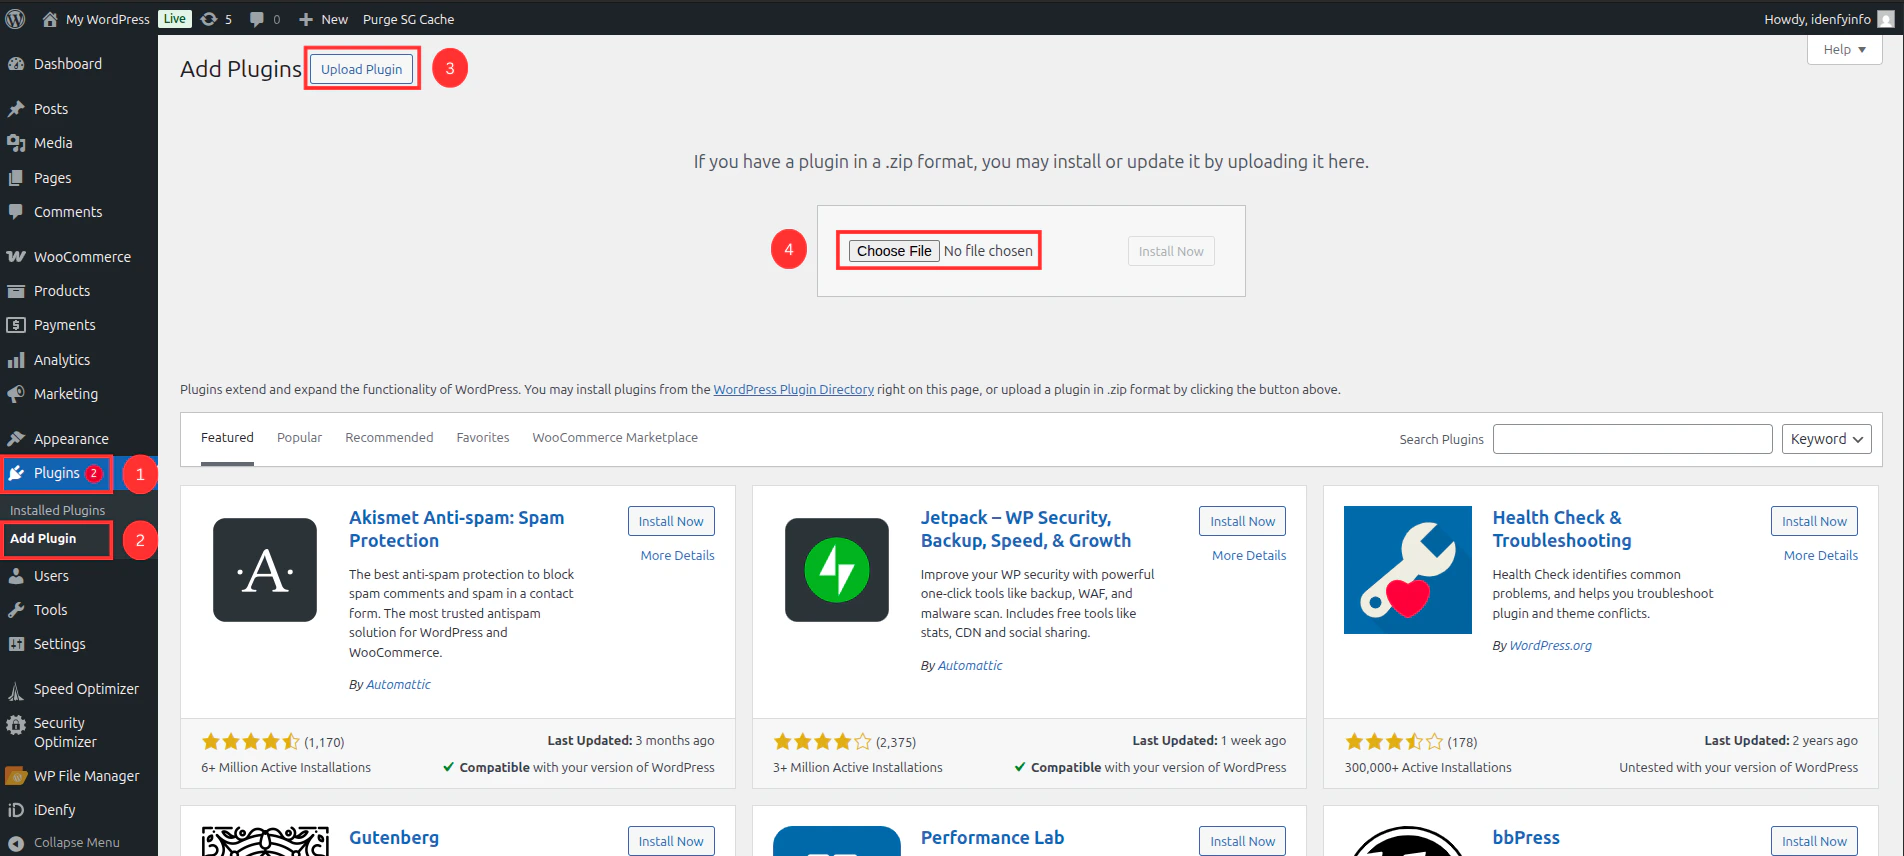


Configure Main Settings
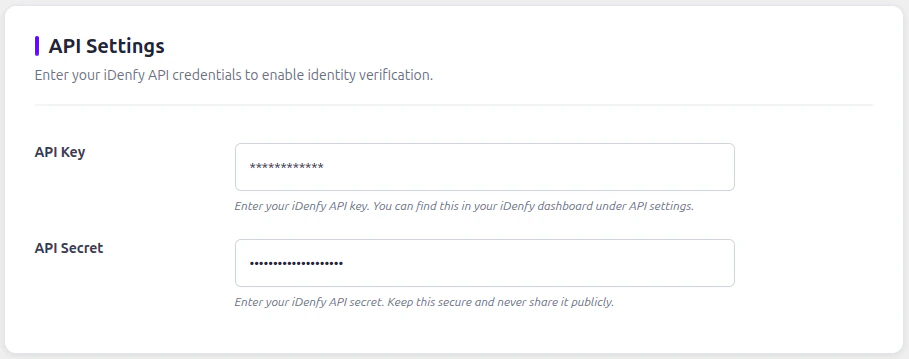
API Settings
Configuration Settings
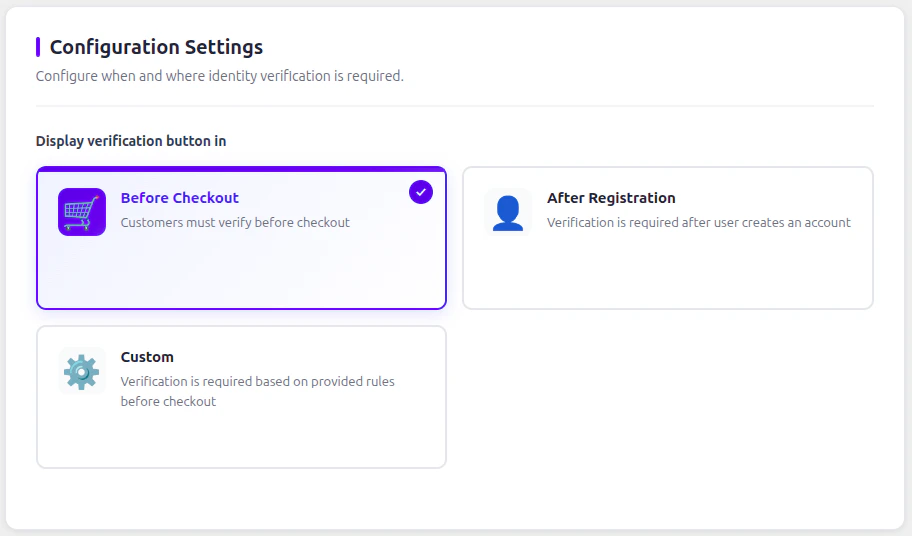
| Flow | Description |
|---|---|
| Before checkout | The plugin shows the verification modal to the user before they enter the checkout page and process the order. |
| After registration | The plugin shows the verification modal to the user after they register on the /my-account page. |
| After registration in landing page | Works the same as Before checkout flow, but only follows the rules set by an admin. Verification can be forced if a custom cart threshold is met or the customer has specific products/categories/tags that require verification. |
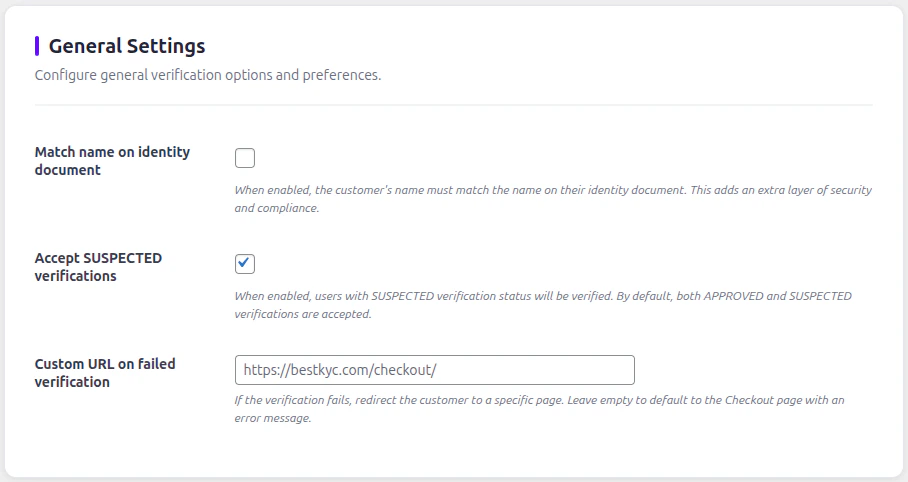
General Settings
| Setting | Description |
|---|---|
| Match name on identity document | Adds a constraint for matching the customer’s name and surname provided in your store to the verification service. Adds an extra layer of security. |
| Accept SUSPECTED verifications | Some verifications can be marked as SUSPECTED. Enabled by default to allow SUSPECTED customers to shop, however the order status will be marked as Suspected by iDenfy. |
| Custom URL on failed verification | Provide a custom URL to redirect customers that fail verification. Can be used to provide instructions or contact information. |
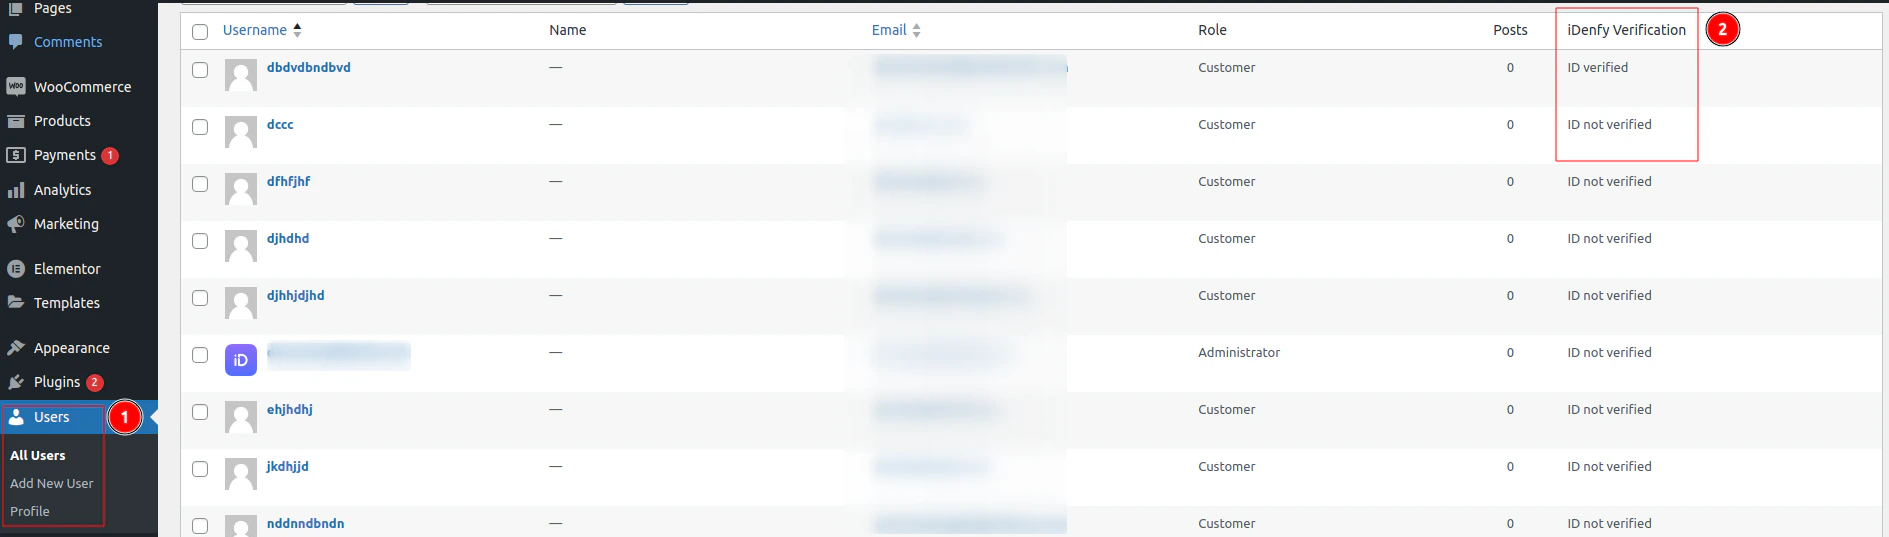
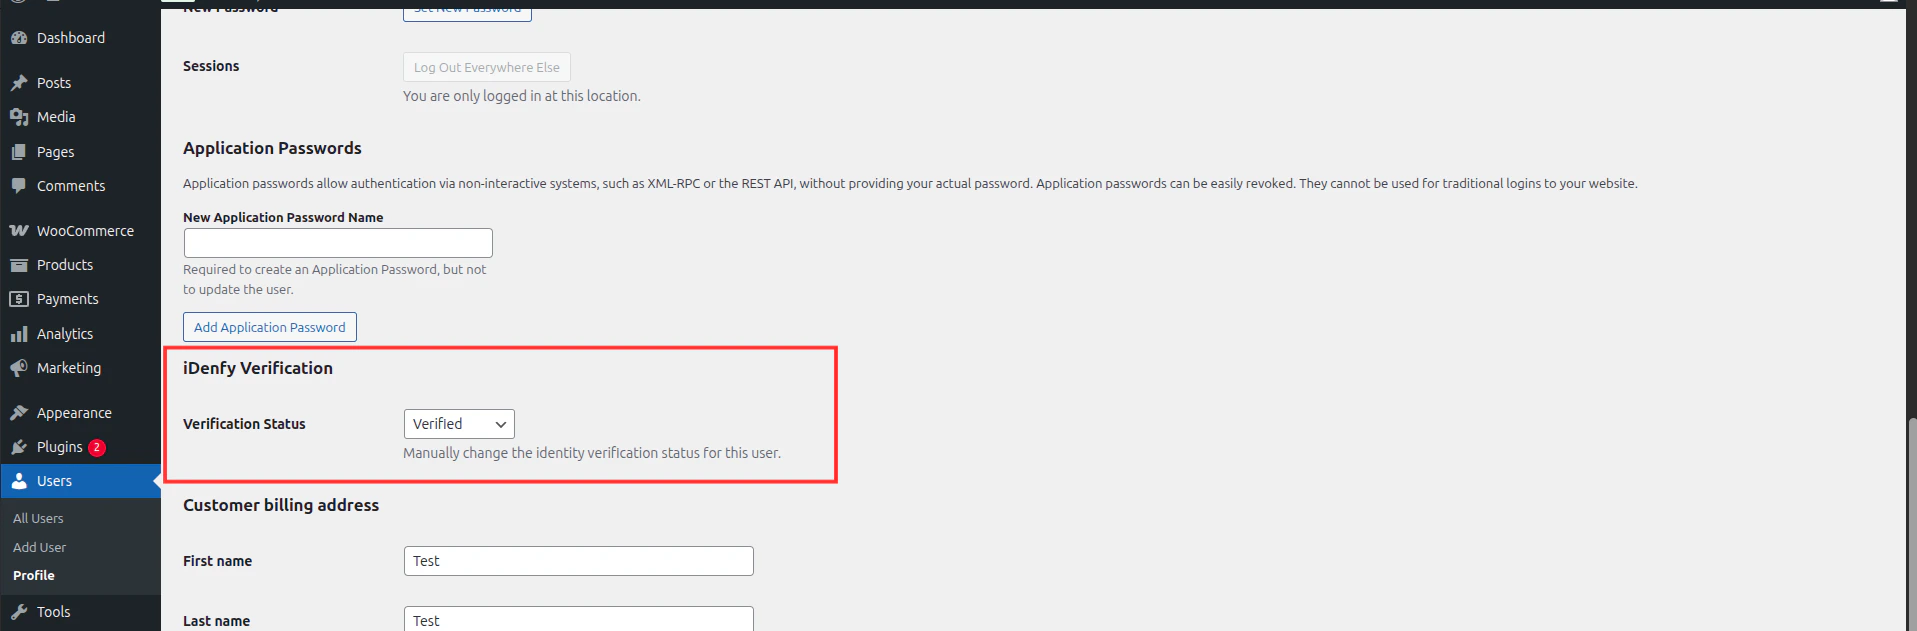
Manage Users in WordPress Panel
You can check and manage all users and their statuses by navigating to Users > All Users. You will find an iDenfy Verification column with the status of each user.