Zapier Connection
Register and Log in to Zapier
Complete the registration in the Zapier platform and start a new project. Related topics you might want to explore:Create a New Automation/Zap
Once logged in, navigate to the top-left and click + Create, then Zaps.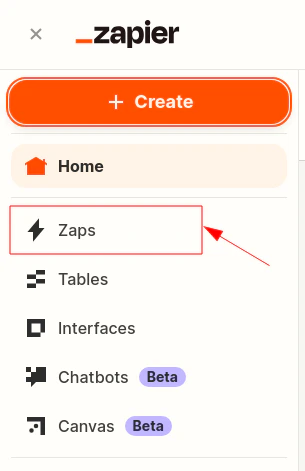
Authorize the Connection to iDenfy
When a new iDenfy step is created, after completing the App & event section, proceed to the Account tab and click Log in.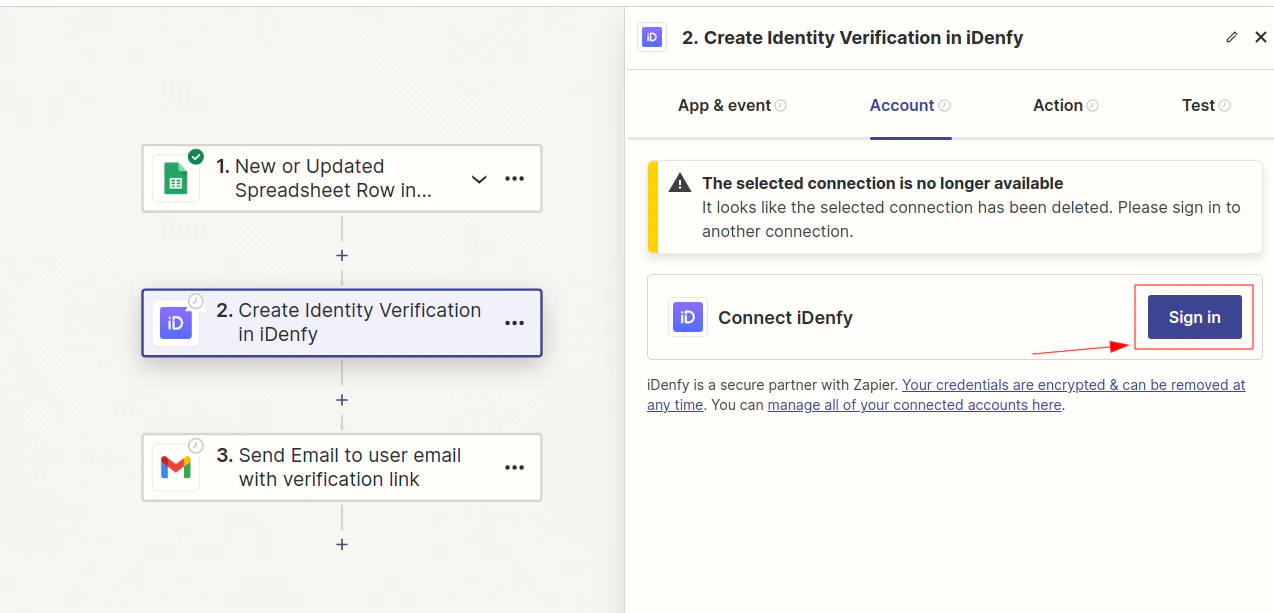
The action number and event selected on the App & event tab do not matter for this step — it is intended to explain how to authorize Zapier to connect to iDenfy.
- API key as Username
- API secret as Password
Complete the Test
Complete tests for each individual action, add/set other actions if needed, and publish the connection/zap.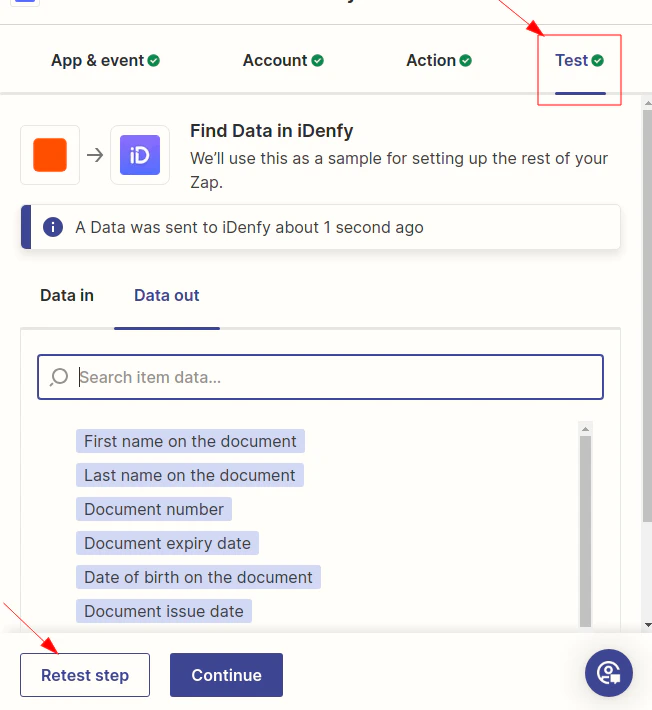
Identity Verification in Shopify with Zapier
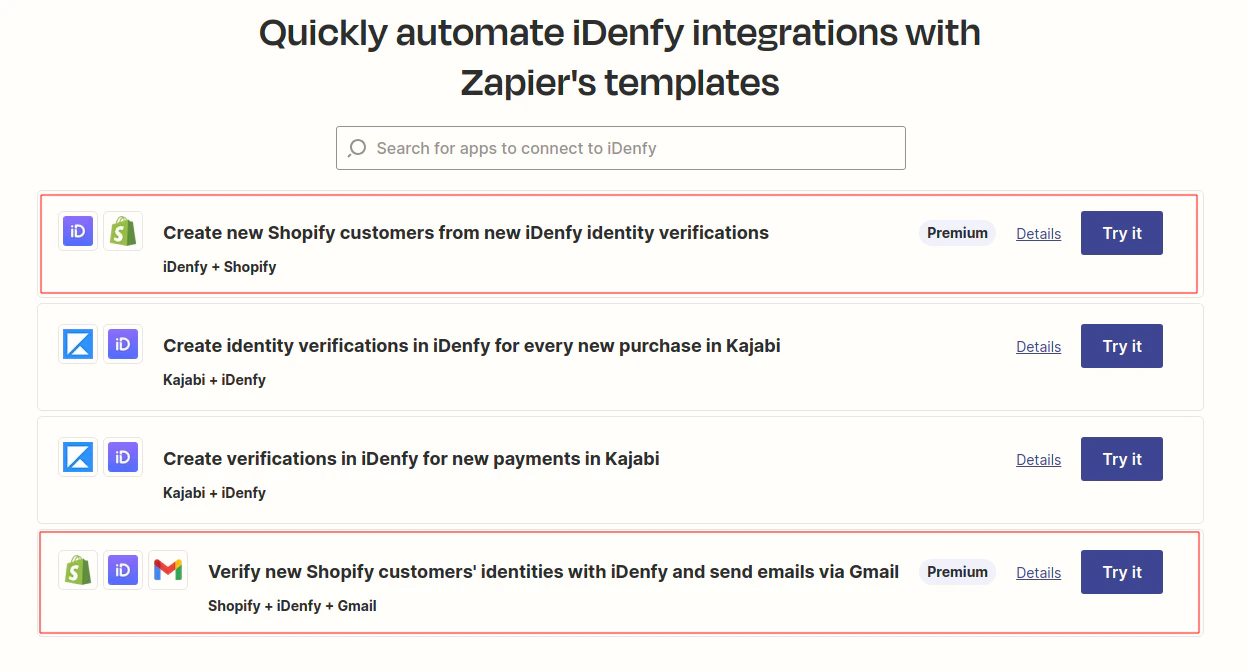
Integration examples with pre-made zaps/connections are provided in the Zapier templates.