How to Create a New Identity Verification Session
Verifying your potential clients is easy even if you do not have an integrated solution. To create a new identity verification session, you must have access to the dashboard and follow the flow below. Once you are logged in, follow the steps below to create a successful user token: Once you create the verification session, you receive a message indicating its validity and the session time.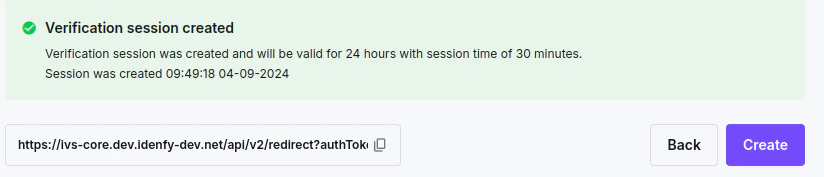
Link Expiry and Session Validity Time
Link expiry time: Once you create the verification session, the link is valid for the duration you configure. This can be anywhere from 1 hour to 30 days. The generated session message includes the expiration time for the identity verification link. Session time: The countdown starts when your user opens the link and lasts until they complete the verification. Session time can range from 5 to 60 minutes to ensure optimal security. Once the session expires, the token also becomes invalid. If the user closes and reopens the link before the session time ends, they can restart and complete the ID verification until finished or until the session expires.Send a Verification Link Using an Email
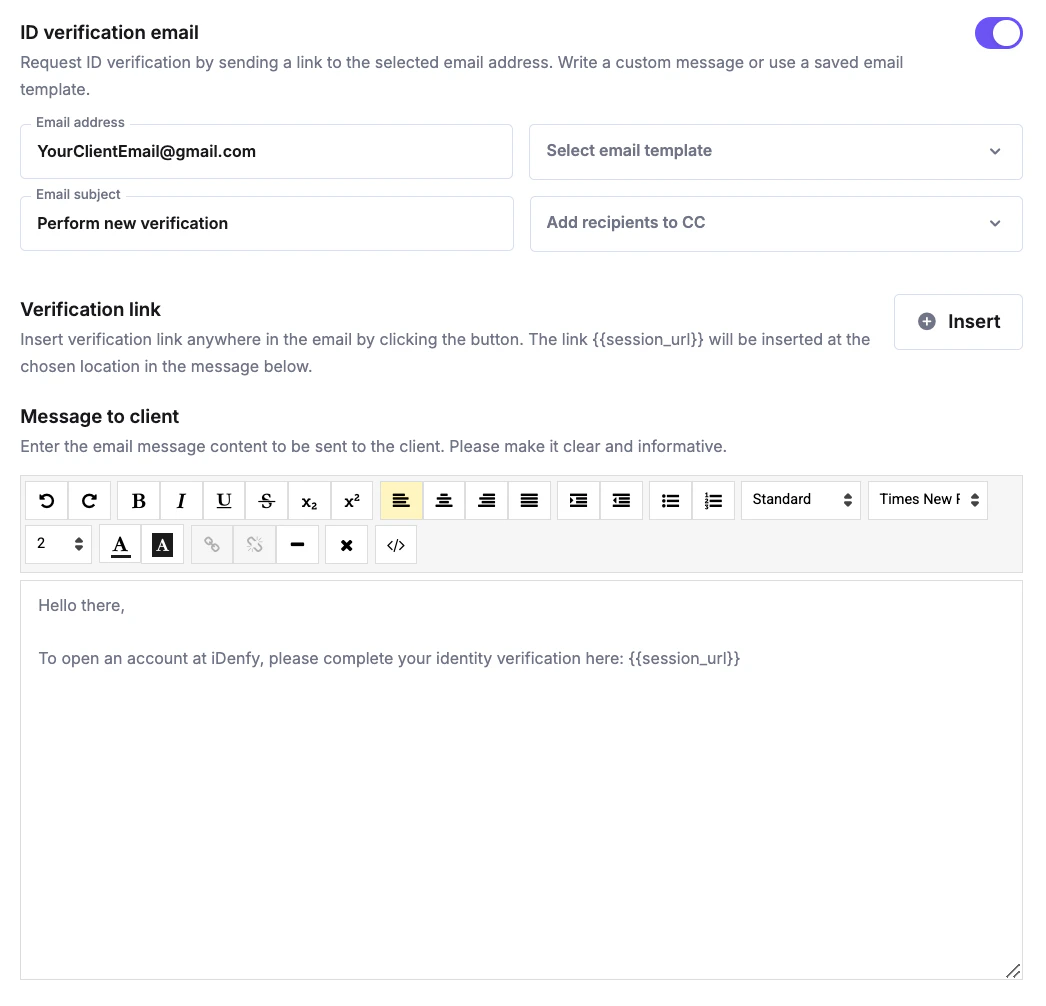
The identity verification link can be sent directly from our system via email. To do so, you must search for an email section and click on the button on the right:
{{session_url}} by clicking Add verification link. Without the session URL, the recipient will not receive a link.