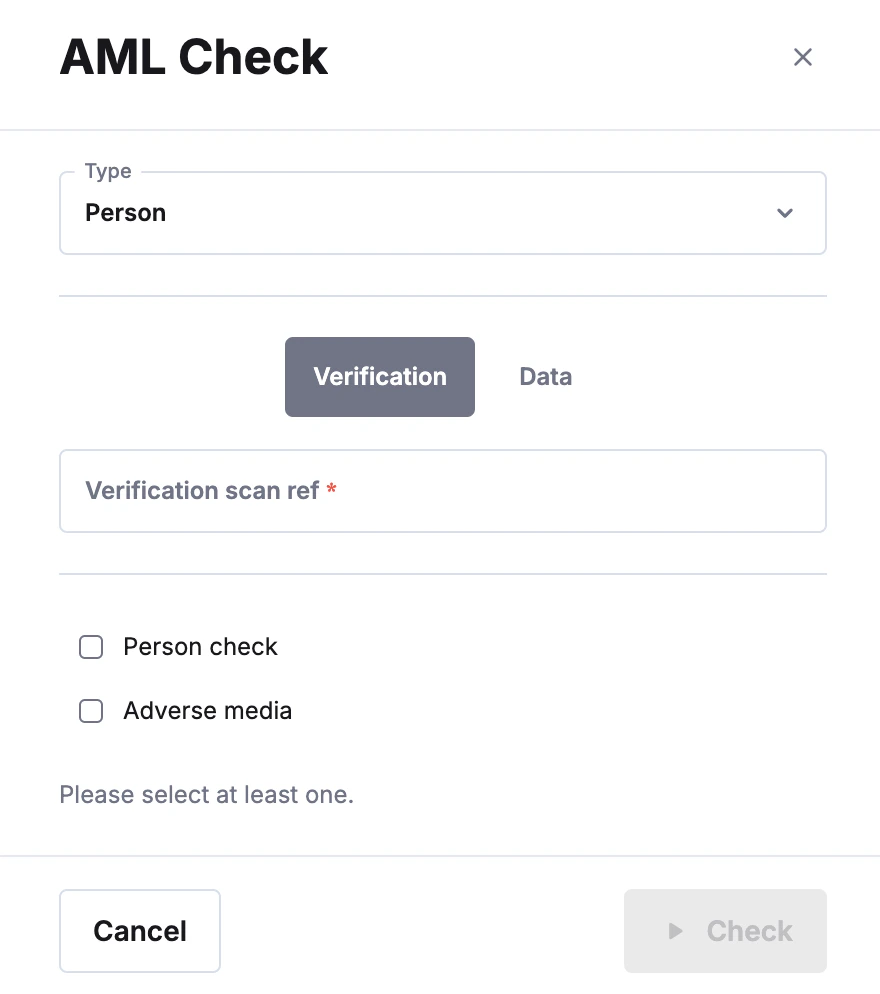
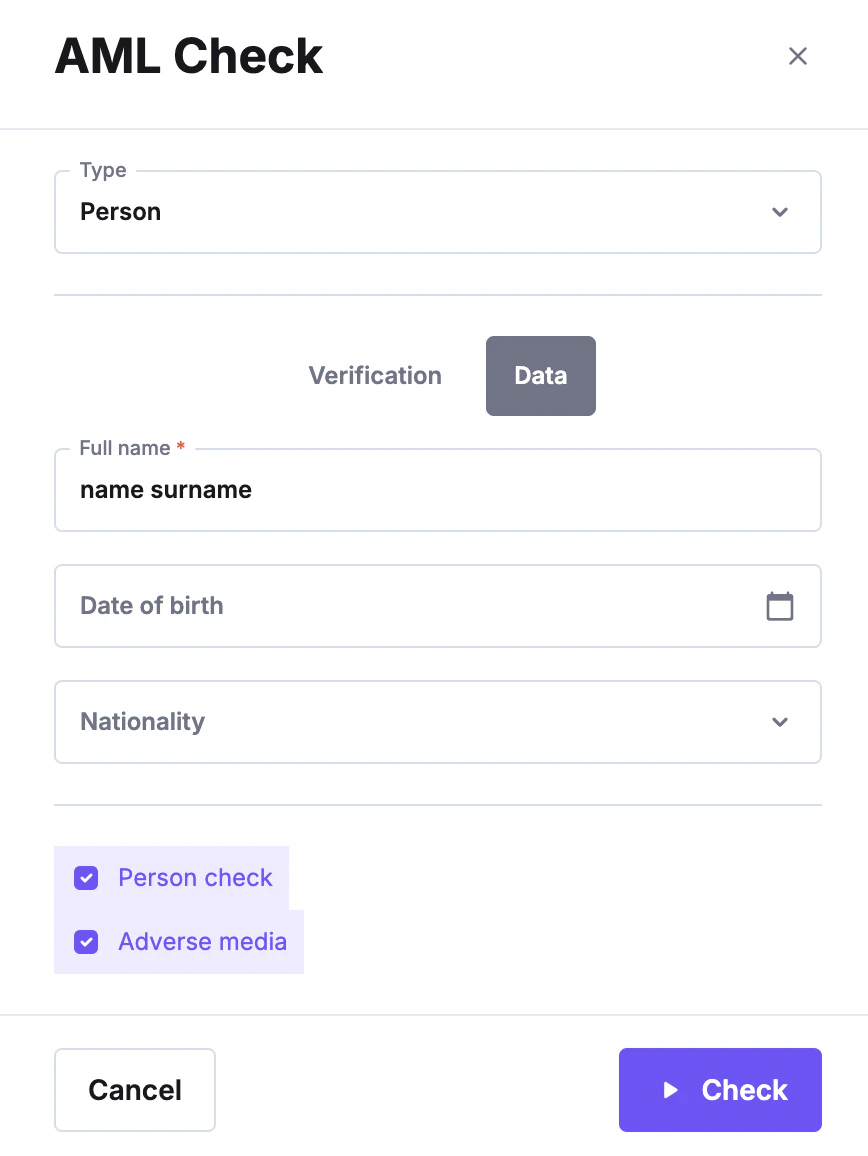
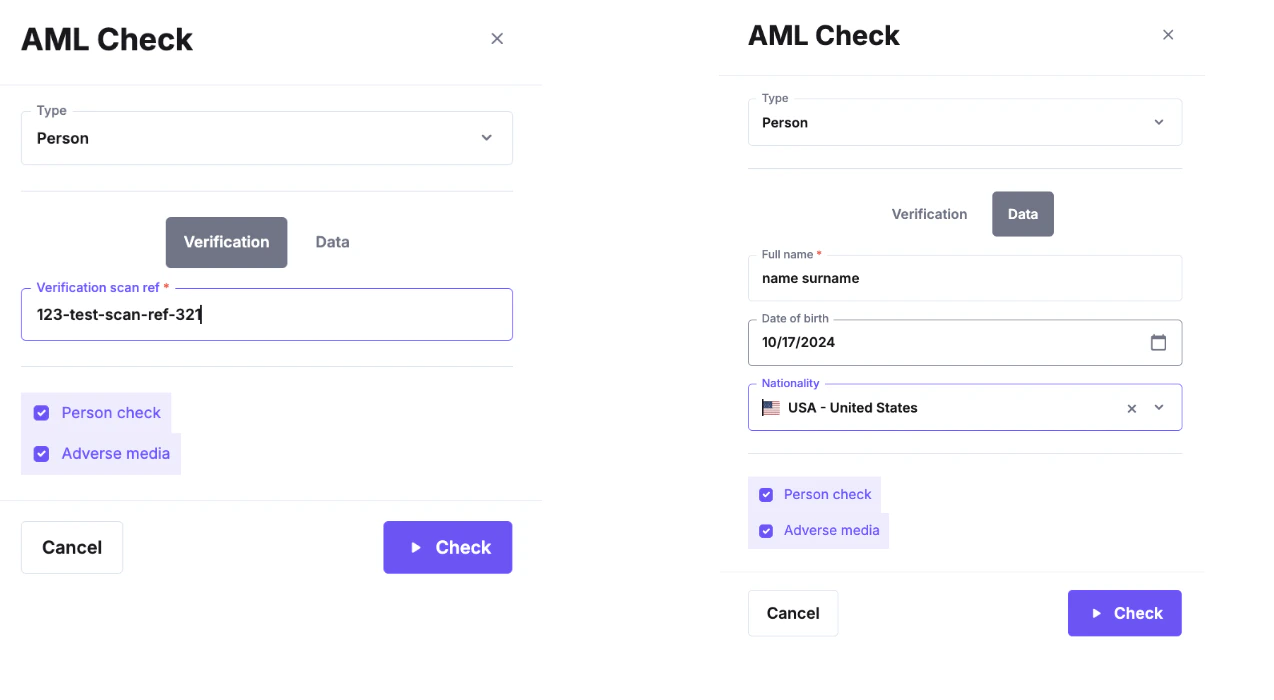
How to perform AML check
This feature enables you to create a one-time AML check to obtain AML results. First, go to your dashboard, click AML verifications, and select AML check. After clicking “Check AML,” you can provide the verification scan reference number if an identity verification was conducted. You can select “data” and manually enter the individual’s personal information if no identity verification has been performed. While only the full name is required, providing additional details will help the system to filter the results. Then, depending on the results you need to receive, you must select personal, adverse media, or both checks to perform the AML check.
How to perform AML monitoring
AML monitoring allows you, as a partner, to continuously track the AML status of a particular subject. Once AML monitoring is initiated, the system automatically updates the results for that individual or company every 24 hours, or as per different database update frequency. This ensures you are promptly informed of any changes related to sanctions, PEPs (Politically Exposed Persons), or adverse media (if enabled) during that period, allowing you to take appropriate action. For example, if the process is automated, continuous AML monitoring can flag subjects for further review or automatically block them. The setup for monitoring is similar to performing a single AML check. Start by visiting your dashboard and selecting “AML Verifications.” Then, click on the “AML Monitoring” tab. Once there, press “Start Monitoring.” You will be prompted to choose whether the monitoring is for an individual or a company. After selecting, you can either enter the verification scan reference or manually input the necessary information.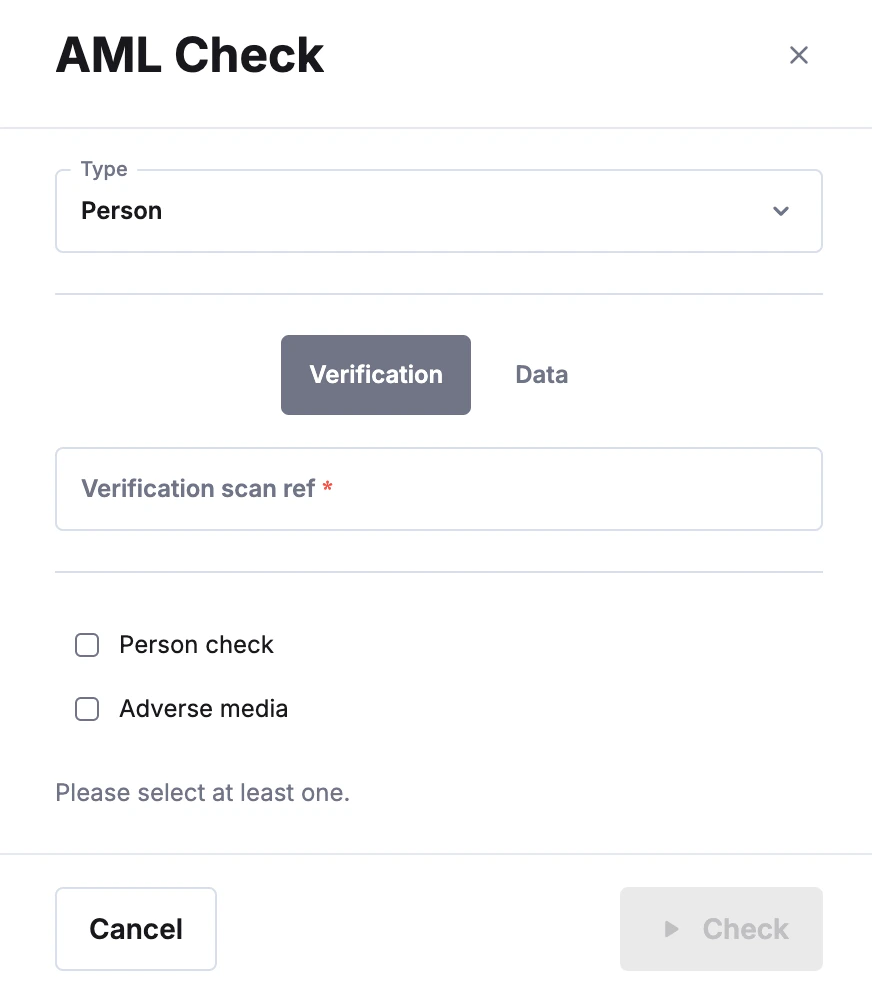
Additional options
Additionally, if there are many subjects in the database, partners can upload a CSV file with all the subjects by pressing the file upload icon at the top right of the page.